Thursday, November 29, 2012

Believe!

Hi! To get into the spirit of Christmas I thought I would share a blast from the past. These were taken in 2010 and I really like how this highlights the pics. It is still a tradition for the girls to pick an ornament the day after Thanksgiving, but we don't visit Santa. We do, however, watch him arrive in his sleigh with the trumpeters in front of him. I still think it is exciting! For those of you who still take their little ones to see Santa I hope this inspires you to create a page:)

Lyrical Letters doesn't have a shadow feature so I used my gypsy to make one.

I used embossing folders on the reindeer and sleigh.


Recipe:
Reindeer - Joys of the Season 3.58
Santa and sleigh Joys of the Season 1.94"
Believe - Lyrical Letters 1.51"
Shadow for believe - Lyrical Letters 1.67"
Present - Joys of the Season 2.45"
Trees- Joys of the Season 1.50", 2.70", 3.00"
Embossing folders - Cuttlebug Snowflakes and Swiss Dots

Thanks for stopping by and enjoy your day!

Annette

Wednesday, November 28, 2012

My First Silhouette Image

Hello! Well, I finally received my Silhouette last week and am slowly trying to figure it out. I did upgrade to the Designer Edition because I think it will be easier to work with SVG images when needed. So, I chose to work with another image from Sonia at SKdigis. I like learning how to shade with my Copic Markers, but I have to say this is really great to be able to color right from the computer. The shading was all done for me and I didn't have to cut these two out by hand. I love that! 


Sonia has a great tutorial on how to cut her images out with the Cameo. It was very easy to follow and greatly appreciated for this newbie:)


Recipe:
A2 card base
Papers DCWV
Stork - SKdigis
Sentiment - My Creative Time

Thanks for stopping by!

Annette

Tuesday, November 27, 2012

You're A Deer!

Hi! Did you all have a nice Thanksgiving? I did and now it's time to think about those Christmas cards. This is another image from Sonia at SKdigis. Isn't he fun!! You still have time to enter the challenge and it is anything goes with one of Sonia's digis. She has some great freebies to play with too.


This will be a great thank you for the holidays that I can keep in my stash when needed:)

Recipe:
A2 card base
Deer - Skdigis
Sentiment - My Pink Stamper
Papers - Authentique
Copic markers, Stickles, Glossy Accents

Thanks for stopping by!

Annette


Thursday, November 22, 2012

Exploring Cricut - Happy Thanksgiving

Happy Thanksgiving! It is my day to share at Exploring Cricut and I decided to keep with Monday's challenge theme of Thanksgiving. 


I created this card in the Cricut Craft Room. This is actually the first time that I have used this program and it was very easy. Every week there is a new cartridge that you can use for free and this particular week was Autumn Celebrations. If you have used Design Studio it is very similar and user friendly. 

I inked the image and then added Glossy Accents to the apples.

Recipe:
A2 cardbase
Papers - Scraps
Cornucopia - Autumn Celebrations 3"
Brown Ink, Glossy Accents, Buttons, Zots

Our challenge ends on Saturday and we'd love for you to join us. Have a blessed day with family and friends and thanks for stopping by! 

Annette


Monday, November 19, 2012

Exploring Cricut Monday Challenge

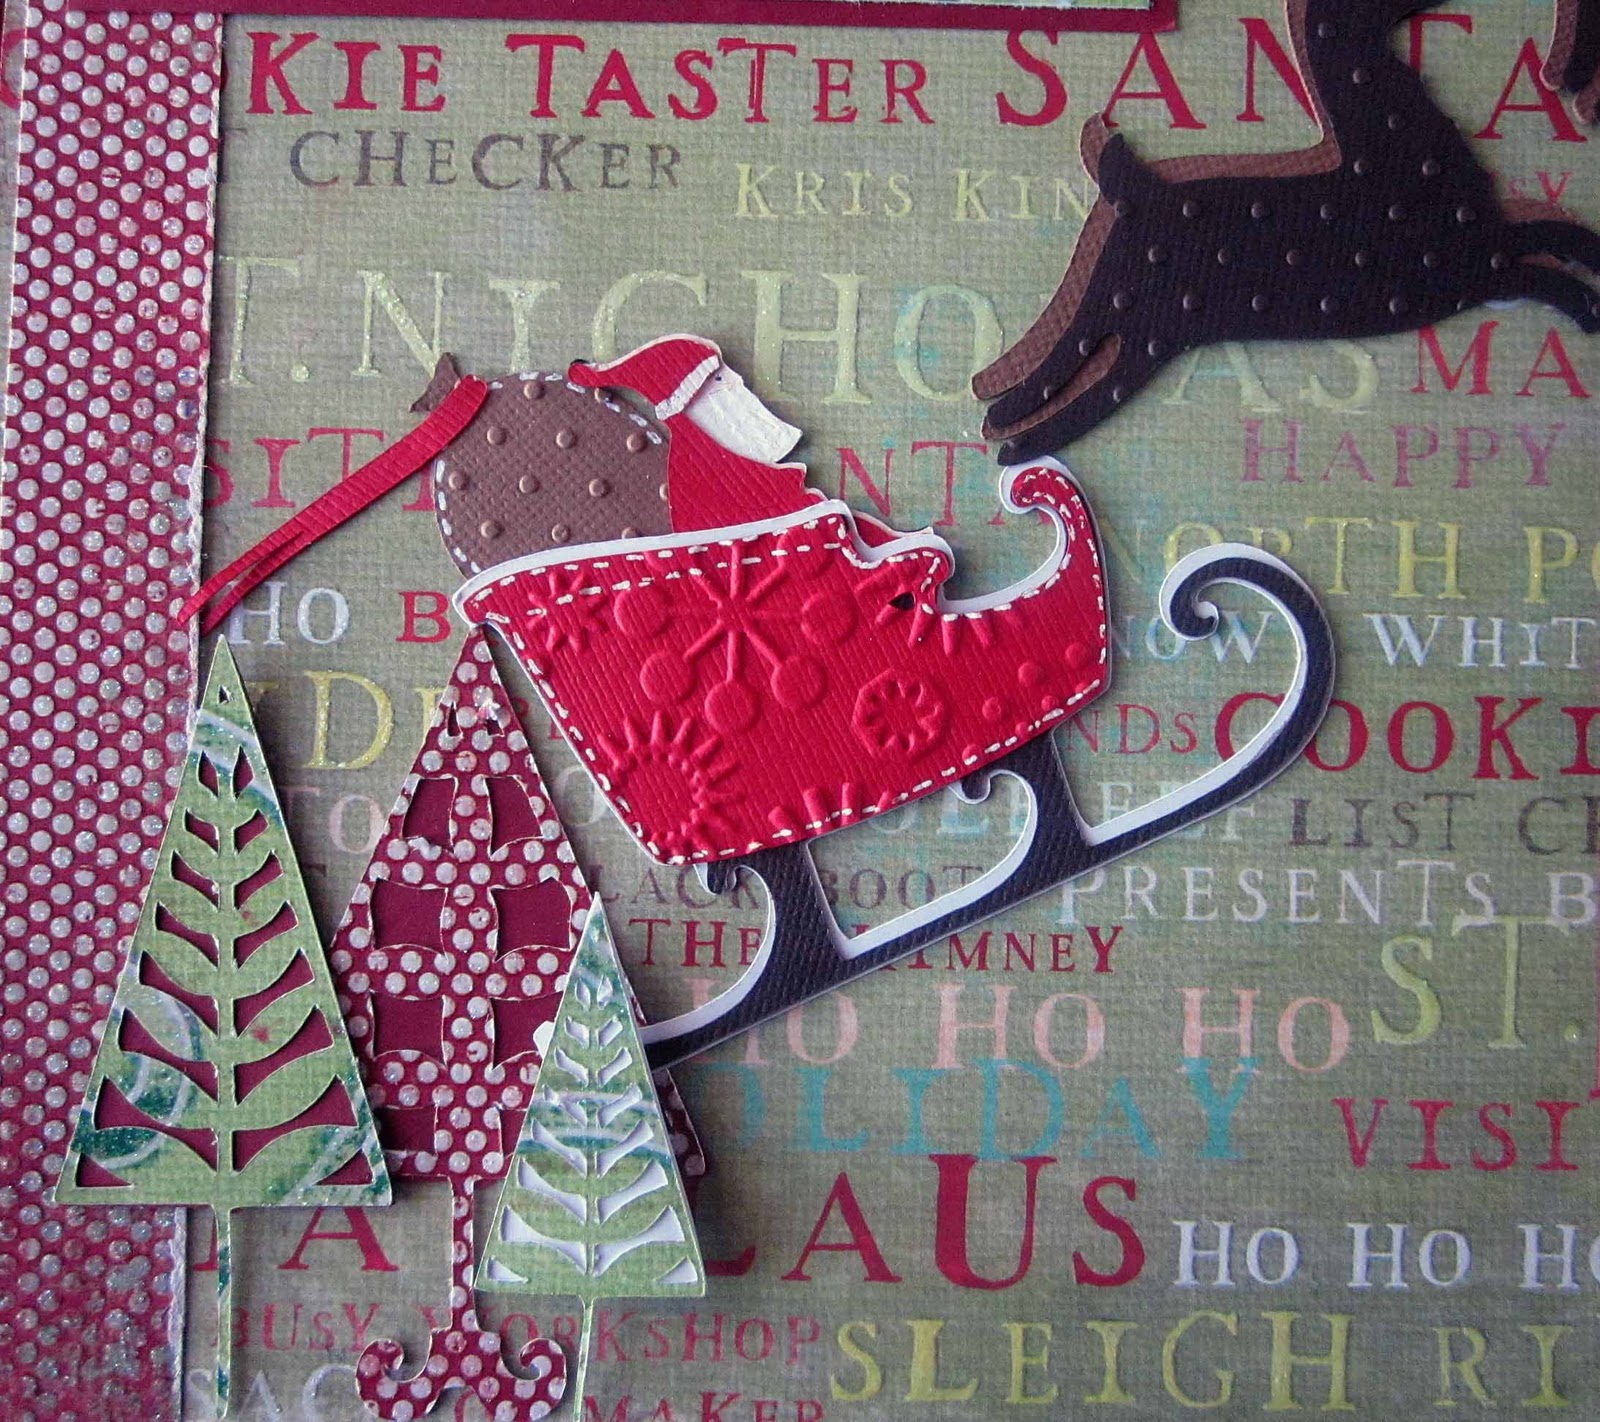
Hello Everyone! Time for the challenge at Exploring Cricut. The challenge this time is to create a card, layout or project with a Thanksgiving theme. You have until Saturday to enter and you must use an image from Cricut:) This is perfect for those last minute items needed for Thursday. 


I decided to create cupcake toppers. These came together super fast and who doesn't love that.  I included the recipe for the Cheesecake Pumpkin Cupcakes because I think these are the best. I have other recipes for these muffins and sometimes they come out too moist. These are more of a cake texture with a delicious filling. Some say they are a knock off from Starbuck's.  They are so yummy.


I hot glued the toothpick to the back of each topper. 

Recipe for Toppers:
Indian - Trick or Treat 
Turkey - Create A Critter
Xmas Red and Cinnamon Stickles

Pumpkin Cream Cheese Muffins
Source Annie's Eats
Makes 24 muffins

For the filling:
8 oz. cream cheese, softened
1 cup powdered sugar

For the muffins:
3 cups all-purpose flour
1 teaspoon ground cinnamon
1 teaspoon ground nutmeg
1 teaspoon ground cloves
1 tablespoon plus 1 teaspoon pumpkin pie spice
1 teaspoon salt
1 teaspoon baking soda
4 large eggs
2 cups sugar
2 cups pumpkin puree (see Note)
1¼ cups vegetable oil

For the topping:
½ cup sugar
5 tablespoons flour
1½ teaspoons ground cinnamon
4 tablespoons cold unsalted butter, cut into pieces

Note: A standard sized can of pumpkin is 15 ounces (just 1 oz. short of 16 oz = 2 cups). I only used one can and they were just fine. You could also freeze the extra if you decided you wanted a full 2 cups.

Instructions:

To prepare the filling, combine the cream cheese and powdered sugar in a medium bowl and mix well until blended and smooth. Transfer the mixture to a piece of plastic wrap and shape into a log about 1½-inches in diameter. Smooth the plastic wrap tightly around the log, and reinforce with a piece of foil. Transfer to the freezer and chill until at least slightly firm, at least 2 hours. The mixture will still be somewhat soft but firmer.

To make the muffins, preheat the oven to 350˚ F. Line muffin pans with paper liners. In a medium bowl, combine the flour, cinnamon, nutmeg, cloves, pumpkin pie spice, salt and baking soda; whisk to blend. In the bowl of an electric mixer combine the eggs, sugar, pumpkin puree and oil. Mix on medium-low speed until blended. With the mixer on low speed, add in the dry ingredients, mixing just until incorporated.

To make the topping combine the sugar, flour and cinnamon in a small bowl; whisk to blend. Add in the butter pieces and cut into the dry ingredients with a pastry blender or two forks until the mixture is coarse and crumbly. When done it should look like the texture of wet sand. Transfer to the refrigerator to chill until ready to use.

To assemble the muffins, fill each muffin well with a small amount of batter, just enough to cover the bottom of the liner (1-2 tablespoons). Slice the log of cream cheese filling into 24 equal pieces. Place a slice of the cream cheese mixture into each muffin well. You want to put the cream cheese lower than you think because it will rise a lot during the baking process. Divide the remaining batter among the muffin cups, placing on top of the cream cheese to cover completely. Sprinkle a small amount of the topping mixture over each of the muffin wells.

Bake for 20-25 minutes. Transfer to a wire rack and let cool. These are so good warm, cold or room temperature.


Thanks for stopping by and remember you have until Saturday to join in the challenge!
Annette


Friday, November 16, 2012

Warm Winter Wishes

Happy Friday! Are you ready for the weekend? Ours is busy with my husband's birthday and a full weekend of Nutcracker rehearsals. I have another SKdigis for you. I think I went a little crazy with the snow pen, but in my defense I really wanted it to look like the house was nice and cozy inside:) I love it during the holidays if we get a good snow and we can stay inside and hang out. That is the best!


The Authentique paper is double sided and makes it so easy to match up. I need to remember that when I am buying paper:) 

Recipe:
A2 cardbase
Papers - Stampin' Up, Authentique
House - SKdigis
Sentiment - My Cat's Pajamas
Snow pen, Stickles, Glossy Accents, Copic Markers, China Blue Tim Holtz Distress Ink

Entering: 
Crazy Us Crafts Favorite Color or Holiday Theme
CAS-ual Fridays Winter Project Featuring Blue

Have a wonderful weekend and thanks for stopping by!
Annette


Thursday, November 15, 2012

Ice, Ice Snowman:)

Hi! Isn't it getting colder where you live? It is definitely getting chilly here. No snow like what the darling little snowman has below but before we know it, it will be here. This is another of Sonia from SKdigis wonderful creations. He's one of the four ice cube snowmen she has. There is a different sentiment on each of their banners. There is a Linky Party right now using any of her creations. 


The snow under the snowman was made with fine glitter and the snowflakes were with Stickles. I think I like the snow with more dimension more. 

Recipe:
A2 card base
Papers - Stampin' Up and DCWV
Snowman - SKdigis
Stickles, gems, glitter, Copic Markers

Entering:

Thank you for stopping by and have an awesome day!

Annette


Wednesday, November 14, 2012

Merry Christmoose!

Hi! I have another Christmas card to share with you. Isn't this moose cute!! This is another fun digi from Sonia at SKdigis, I enjoyed working with it and hope you like it:) 


Recipe: 
A2 cardbase
Papers - Stampin' Up Jillibean Soup
Moose and Sentiment - SKdigis
Copic markers, twine, buttons

Entering:
Catch The Bug Things With Tails
Crazy Hazelnut's Christmas For a Man or Boy

Thanks for stopping by!

Annette


Tuesday, November 13, 2012

No Longer A Tween

Hi! Today, my youngest has a birthday and she is no longer a tween. It is also her "golden" birthday and she thinks that is so cool. She is officially a teenager and while that is exciting to think about, it makes me feel sad too that she is growing so fast. My inspiration comes from her love of the color teal and turtles.


I used PK Corny faces for this cutie and even pulled out some old stamps from Stampin' Up for the confetti and the sentiment. 


For one of her presents I created this fun cupcake tag. I was in the Hallmark store with my Mom the other day and they have all of these toppers actually attached to the bag and they are really cute. Of course, I thought well I'm sure I could make that:)

Recipe:
A2 white cardbase
Banner - Birthday Bash 1"
Turtle - Birthday Bash 1.94"
Face - Peachy Keen Corny Faces
Grass - Paper Dolls for Everyday 3.27"
Sentiment - Stampin' Up
Confetti - Stampin' Up
Cupake Tag - Birthday Bash 4.23"
Black ink, Stickles, Copic Markers, Twine, White gel pen

Entering: 
Celebrate the Occasion Use a Cupcake
Craft Your Passion Clean and Simple

Thanks for stopping by and hope you all have a wonderful day!

Annette

Monday, November 12, 2012

Tis The Season...

Hi! Today I wanted to share a holiday card I made using SKdigis. Sonia has some new digis that are so fun to play with. Go check them out here.You might be asking yourself, "where is the green tree?" Well, my inspiration for this card came from seeing all the decorations that are out in the stores right now. While there are the traditional items, there are a lot of whimsical and very fun color choices to choose from. You can get a tree in probably any color you want now and some of them are really cute when they are all decorated. 


This digi has a few words from one of my favorite songs. I used my Copic markers to color them in fun colors and then used my snow pen and silver Stickles to give them some sparkle. The white card base is 5x5. The embossed paper was a win from Diana (DL Art) and I just love it. Hope you like my card:)

Entering:
Crafty Creations No Flowers
Christmas Stampin' Anything Goes
Sparkles Christmas Contemporary 


Thanks for stopping by!
Annette

Thursday, November 8, 2012

Exploring Cricut - Happy Dog!

Hi! It is my day to share at Exploring Cricut and I whipped up this cute little dog from Birthday Bash. I attached him to a wobble for a little fun:) 


It is a little difficult to show in a picture his wobble, but you get the idea:)

Recipe:
A2 cardbase
Dog - Birthday Bash 
Sentiment - K. Andrew Designs
Wobble, Twine, various inks for edging

Thanks for stopping by!

Annette

Tuesday, November 6, 2012

Hoot!

Hi! We have an owl that hangs out from time to time on our street and I just love when he hoots. We saw him hanging out on our neighbor's roof one time and had to do a double take because we weren't sure if he was real. 


I made this for my nephew, who loves owls, for his birthday. I have used this card shape for many different occasions like graduation, thinking of you, etc. Just by changing the papers and maybe adding accessories to it. It is a really a fun one to play with:) Hope you enjoy!

Recipe:
Owl  - Wild Card
DCWV and Bazzill
Stickles

Thanks for stopping by!

Annette 


Monday, November 5, 2012

Exploring Cricut - Celebrating Veterans!

We are celebrating Veteran's Day at Exploring Cricut and hoe you join us. The challenge is to create a card, layout or craft with a patriotic theme for Veteran's Day. You must use the Cricut for your project and no back linking. You have until Saturday, the 10th, to enter your project.


I decided to create a card for my project and found these great cuts on a variety of cartridges. For the flag, I welded the stars in my Gypsy to a flag and just love how it turned out. I heat embossed the sentiment with red powder. I edged the mat in brown ink and used Stickles for her bows, sash and flag.

Recipe:
A2 card base
Papers - Stampin' Up and Authentique
Girl - Twinkle Toes 3.59"
Face - Peachy Keen Cherub Set
Flag - My World 1.35"
Stars - George and Basic Shapes 0.20"
Mats - Elegant Edges 4"
Sentiment - Pink By Design
Stickles, Embossing Powder, Chalk White gel pen, Copic Markers, Brown Ink, Black Ink

I hope you come join in the fun and thanks for stopping by!

Annette


Thursday, November 1, 2012

SKdigis November Challenge!

Hello! It is time again for another SKdigis Challenge. Are you ready to have some fun? Anything Goes at SKdigis, but remember you have to use Skdigis as the main image. Sonia has got some new digis for us to play with and they are adorable (as usual). Since it is the first of November, I chose to make my card with a pumpkin pie and a turkey.  


I was playing around with different card shapes and decided to do a type of swing card.


As you can see the circle floats in the middle of the card.


When the card is fully open you can see the cute little turkey on the inside. 


And of course, he had to wobble while he gobbled!

Make sure you go check out the awesomeness (is that a word?) of my DT sisters. I love how some of us chose the same digis and they all look amazing and unique:) Such talent! Can't wait to see what you guys create too:)

Thanks for stopping by!

Annette