

Hi Guys! I'm excited to share today at Exploring Cricut a card that I made using a different technique for me. It is called iris paper piecing or paper folding. I really liked using the negative space from my Cricut cut to create something unique in the middle. For my sun I thought it would be fun to bring in different shades that you actually see when the sun is coming up or setting.

There are quite a few you tube videos out there as well as directions and this is how I chose to make mine. I used the square pattern from this site to create my iris. I chose 4 patterned papers cutting them at 1 1/2"
wide and 3 1/2" to 4" in length.
Each section is numbered and you will begin with #1 which is the outer area of the square and work your way in. A great tip I learned was to make a chart like this:
Color 1: 1,5,9,13,17,21,25,29
Color 2: 2,6,10,14,18,22,26,30
Color 3: 3,7,11,15,19,23,27,31
Color 4: 4,8,12,16,20,24,28,32
I named my colors based on what my pattern paper looked like. This helped me keep track so that I would know which paper came next as I was going around the square.

The strips of paper are then folded in half. Make sure you keep the fold to the inside of the iris. It is best to use papers that are lightweight; as this is very heavy once assembled. My papers are from a DCWV 180 sheet stack.

This is the finished product. You should also remember that you are working on the back side of the image. It is helpful to tape the sheet of paper to a work surface to eliminate shifting while working. As you lay the strips of paper down you can begin to attach them to each other with tape in the corners. I wouldn't tape your folded papers to the square because it will make it harder for you to remove the pattern when finished.

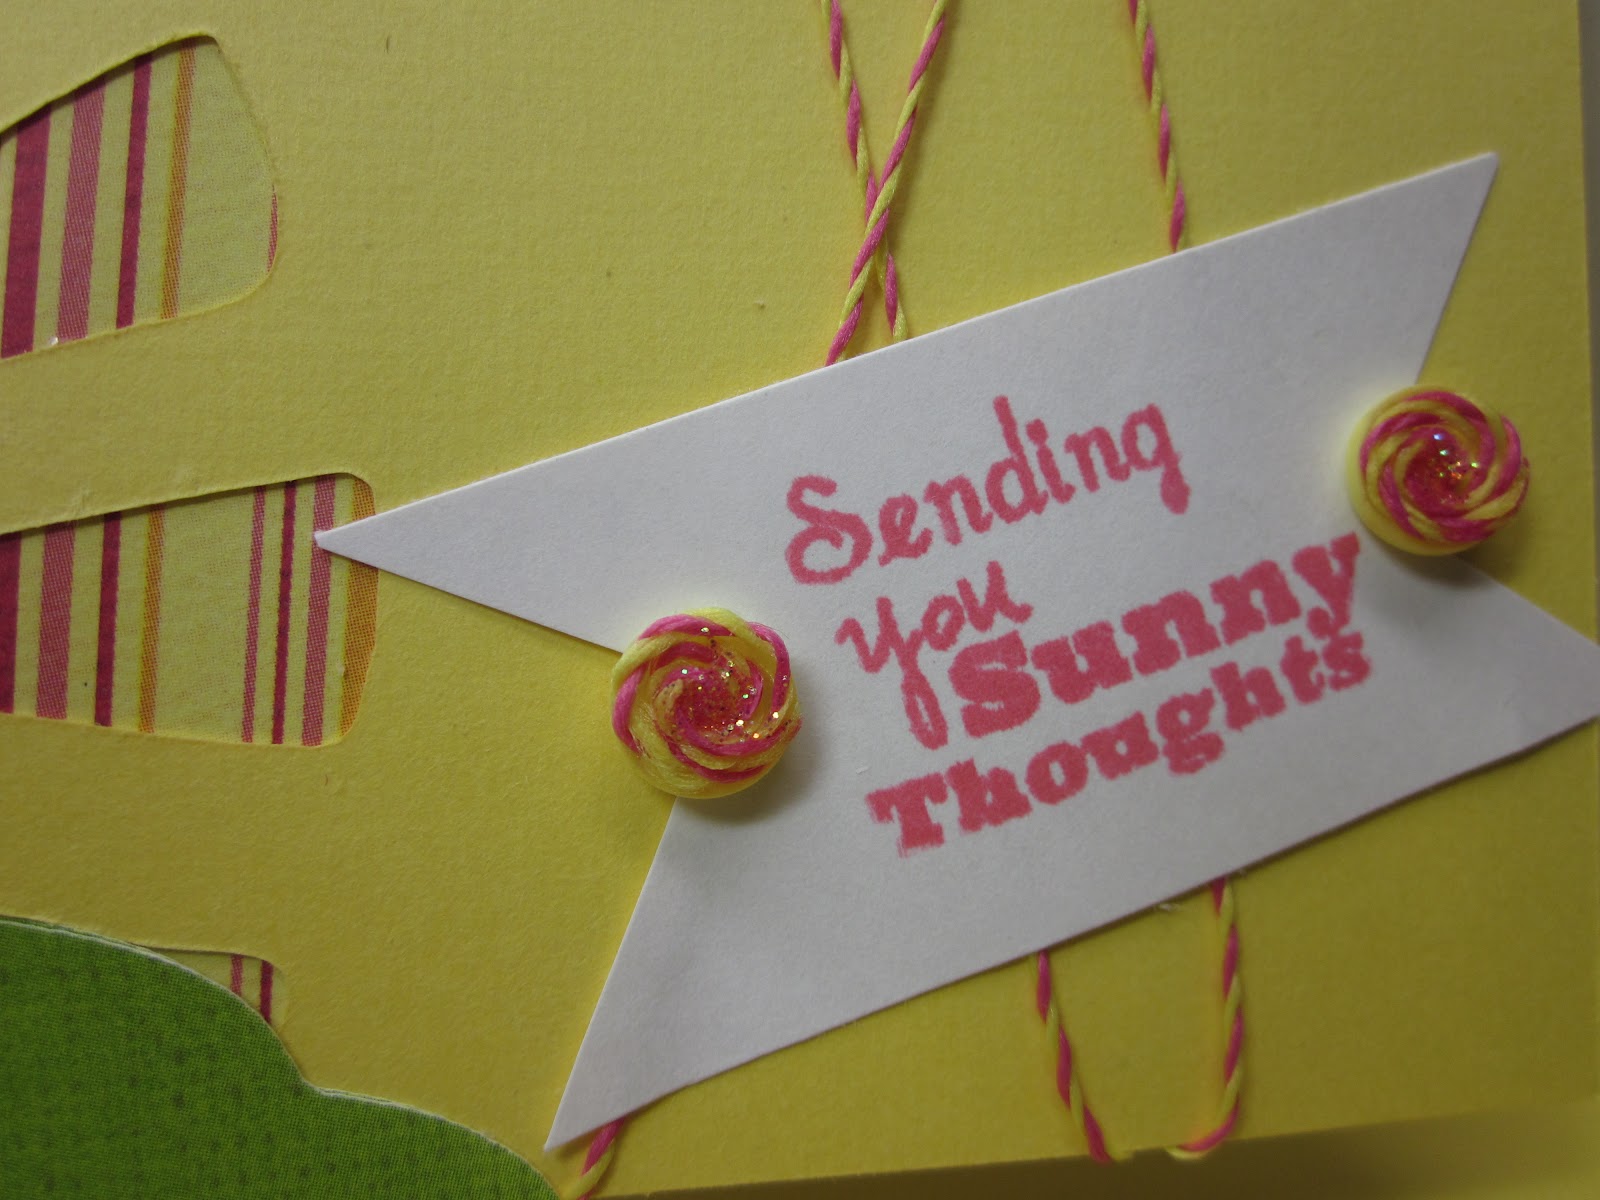
I created the embellishment on the end of the sentiment by taking 2 buttons and gluing twine to each of them. I then added Stickles to the centers.
Recipe:
Sun negative - Paper Dolls for Everyday 4.88"
Hill - Paper Dolls for Everyday 1.21"
Sentiment - K. Andrews
Twine, Stickles, Worn Lipstick ink,
Thank you for stopping by and remember you have until Saturday to enter our challenge!
Annette


13 comments:
Wow love this card and the technique! Great job
WOW!!!! That is all!
This is an adorable project! I have never tried this technique but is looks so interesting!!
How beautiful!!!! I love it. Love how you covered the buttons with twine. Great idea. :)
That looks so cool! What a neat effect behind the sun! I will have to try this out at some point!
Ooh so pretty!! I've never seen a card like this before, love it!!
What a FANTASTIC card!!
Wow, Annette - This card is just amazing. You must have spent some serious time on this. It's just awesome and SO creative! I would LOVE to have you link this up and share it in our challenge at Word Art Wednesday. We're having a double prize week (Isabella's Sketchpad AND Our Daily Bread Stamps). We would be SO blessed to have you share your beautiful art with us.
Thanks for stopping by my blog to say hello, and I hope you have an awesome week!
Blessings to you,
Karen L
www.wordartwednesday.blogspot.com
What a super fun card! LOVE the paper folding and the way it shows through the die cut! Amazing! :)
The card is beautiful. Thanks for sharing all the information. I have been wanting to try this technique.
Oh I love this card. The colors are so cheerful and the iris fold is so pretty. TFS!
Kim
Annette, this is such a unique technique. I love the depth and colors! Thank you for sharing it at Word Art Wednesday. ;)
Pretty. Like the Iris folding. Not tried it before. There's a young girl, Tiffany, that is wonderfully talented with Iris folding.
Melissa
"Sunshine HoneyBee"
Post a Comment