Showing posts with label Locker Talk. Show all posts

Monday, December 30, 2013

Exploring Cricut - Happy New Year

 Time for another challenge at Exploring Cricut!! Diane has asked us to create a card, layout or project with a New Year theme. 

I created a card for the challenge and kept the background simple so the title would really pop. The numbers on the clock were created using the gel pens. I added silver Stickles at the base of the hands.


Recipe:
A2 card base
"Happy" - Straight From the Nest
Numbers - A Child's Year
Clock - Locker Talk
Gel pen, Silver Stickles

Thanks for stopping by and have a safe and Happy New Year!

Annette

Thursday, November 21, 2013

Exploring Cricut - Science Game

Hello! Today is my turn to share at Exploring Cricut and I have a fun school project you might enjoy. My youngest daughter asked to use the Cricut to create a board game for her science project.  This was a great project for the budget because we  had everything but extra dice, which we found at the $1 store. Gotta love that:)

My daughter chose to base her game loosely on the "Sorry" game. We started with a poster board and cut it down to a 20"x 20" square with the smaller squares measuring at 2 1/2". To make it more interesting, while learning, she added things like "draw again, lose a turn, etc.

One of the requirements for the project was to create 25 questions based on the subject matter, which was atoms and elements. She set to work choosing colors and shapes that would fit her theme. She used the gypsy to search for items. This can easily been done in CCR too. While I love my gypsy I do think searching for shapes is nice in CCR because it is a larger screen. You can hold the top button on the gypsy to enlarge the shape before selecting too.


The entire board was Mod Podged for a protectant. The "finish" piece was created by welding a circle and rectangle together in the Gypsy. 


The game pieces were created with a button as the base, a wooden ball and Stickles. The ball was attached to the button with E6000 glue.

Recipe:
Foam core board cut down to 20 x 20
Title - All Mixed Up 1.47"
Circle, Rectangle - George and Basic Shapes 3.47", 4.53"
"Start" and "Finish" - Plantin SchoolBook 1"
Beakers - LockerTalk 2.06"
Atom - Indie Art 2.06"
Radioactive - Indie Art 2.06"
Arrows - Gypsy Wanderings 1"
Dice - Indie Art 1"
Buttons, Wooden Balls, Stickles, Mod Podge, E6000 glue, dice

Thanks for stopping by and don't forget you have until Saturday, November 23rd to enter our challenge!

Annette

Thursday, September 12, 2013

Exploring Cricut Smile It's School Time

Hello! Happy to see you here. It is my turn at Exploring Cricut and I am sharing another school layout. At our middle school the kids go a week before school to take a yearbook picture, get locker assignment and school supplies if you ordered them. 


This paper is from Simple Stories and is double sided. I really like being able to use that kind of paper. It takes all the guesswork out:) I had never cut the school from Locker Talk and think it is so fun. It was a little tricky as I wanted the windows to be white. To get this look I used the blackout feature for the white. I cut the base in green (cutting away the building, tree trunk and flagpole) and then used the layer feature to get the buildings, flagpole and tree in the colors I wanted. I added white gel pen to the flag.

I also added green ink to the tree and edges of green grass. A black micro pen was used on the front stair and front doors. The camera was popped up and micro pen was added to it. The camera flash was popped up and inked with Wild Honey Distress Ink from Ranger.

2 page 12 x 12 layout
Papers - Simple Stories and Bazzill
Camera - Locker Talk 1.77"
"Smile" - Locker Talk 3.46"
School Building - Locker Talk 2.79"
Camera Flash - Locker Talk 3.15"
"6th Grade - Locker Talk 4.10"
Pop dots, Wild Honey Ink, Versamagic Tea Leaves Ink

Thanks for stopping by and there is still time to enter our challenge. You have until Saturday! Hope you decide to join in the fun:)

Annette

Monday, September 9, 2013

Exploring Cricut - Back To School Challenge

Hello! Did you all have a nice weekend? It was super hot here and boy there must be a lot of pollen in the air!! Exploring Cricut has a new challenge today to start your week out. Using your Cricut create a card, layout or project with the theme "back to school" using some of the primary and a ribbon.

I chose to create a page for my youngest when she was entering 6th grade. It was so exciting for her as she was entering middle school and, of course, her own locker. She had a great time with her sister and cousin decorating her locker and goofing around. Of course, now, as an 8th grader it is all old hat:)


I enjoyed creating this layout looking for different cartridges to show the theme of my pages. I hadn't used my glitter pens in awhile and they were perfect for the notebook paper and the pennant with her school initial on it. I changed the blade out and put the pen in using speed of 3 and pressure of 3. Remember not to unload the mat so that you can cut the image out after using the pen.

I have been cutting a lot of titles out lately and am finding that welding them together is so much easier to glue down, especially when they are skinnier letters. "Middle School" was taken from Locker talk and I left them separate for a different look. The lettering on the pennant was done using the glitter pens again. I inked the edges of the notebook paper, pennant and journalling paper. I cut the journalling paper to look like a ribbon.

Recipe:

2 page 12 x 12 layout
Papers - Simple Stories, Scraps, Kaisercraft
Title - All Mixed Up 1.77"
Middle School - Locker Talk 4.23"
Pennant - Locker Talk 1.31"
Lettering on Pennant - Cricut Craft Room Basics .43"
Notebook Paper - Simply Charmed 2.39"
Locker - Locker Talk 8.20"
Globe - Locker Talk 3.92"
Cri-Kit Gel Pen (black glitter)

Thanks for stopping by and be sure to check out my DT Sisters for some great inspiration! I know I will be as I have more school pics for this year:)

Annette

Thursday, April 26, 2012

Exploring Cricut Daily Challenge - School Days

Hello! I'm glad you came by because today is my day to share at Exploring Cricut. I decided to  make a title page for a school album. This was a lot of fun because I used quite a few cartridges. This is for an album spanning preschool through 8th grade so I tried to have young items as well as older like the lock for middle school.

I wanted a schoolhouse with a bell, but none of my carts had that. No worries, gypsy to the rescue. I found a house in Lyrical Letters and cut the chimney off. Paper Dolls for Everyday is where I found a shape that would be good for a school bell. I welded the two together. Now, comes the funny. The bell is actually an elbow pad. Yes, an elbow pad. It is from page 57 under Accessories 2. I reshaped it by widening and now it is a bell.

The science beakers were only attached to the colored papers so that the vellum would not discolor. I also used vellum behind the holes of the recorder. You can click on the picture to enlarge.


I used Argyle and Swiss Dots to make the lettering a little more interesting to look at, and hopefully stand out a little more.


The lock was fun to make. Originally I was going to make the lock with the silver paper, but decided that maybe having only the button with that paper would give more depth. I chose the teal because my daughter had a lock this color:)


Recipe:
Chalkboard - George and Basic Shapes 4.74" and 4.07"
Chalk and Eraser - George and Basic Shapes 0.54" and 0.69" 
Scissors - Simply Charmed 4.18"
Crayons - Simply Charmed 4.29"
School - Lyrical Letters 11.71" 
Bell - Paper Dolls for Everday 9.72"
Globe - Locker Talk 3.71"
Lock - Locker Talk 4.80"
Recorder - Locker Talk 2.53"
School Days - 3 Birds On Parade 1.31"
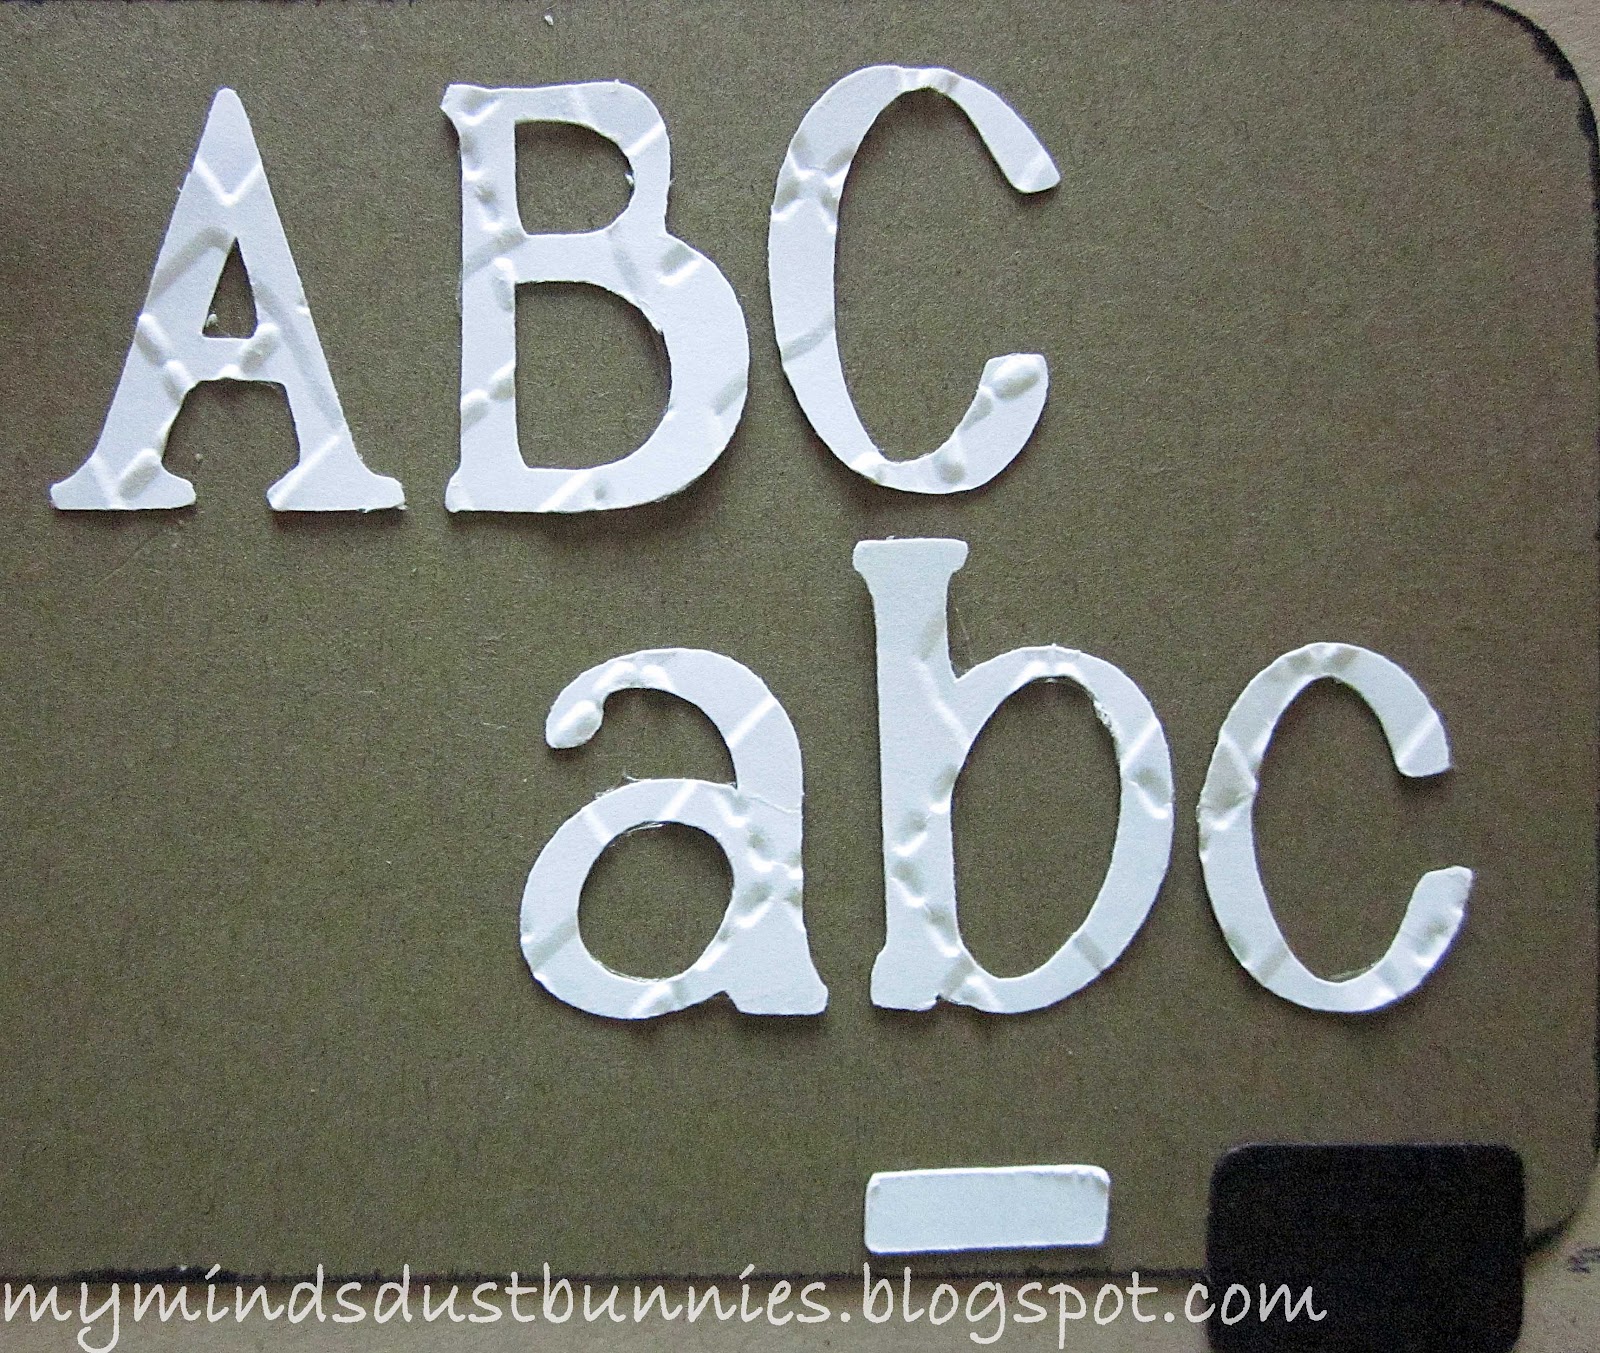
ABC abc - A Child's Year 1.12"
Science Beaker - Locker Talk 3.35"
Argyle and Swiss Dots Cuttlebug folders

If you are looking for a way to control school albums check out my post from yesterday where I showed how I cleaned up my kids books.

Don't forget we have a challenge right now at Exploring Cricut to create a box using your Cricut. I hope to see some of your wonderful creations too:)


Thanks for stopping by!


Annette

Wednesday, April 25, 2012

Organizing School Albums

Good Morning! The school year is almost to a close and with that, for me, usually means some housekeeping of all the papers that have accumulated over the year. Hopefully, with this post you will gain some help if you are struggling to come up with a method that works for the chaos:)  Warning this post is long and lots of pictures:)

When my oldest began school there really wasn't as much as we have today in the way of organizing. My old method was to keep artwork in a plastic container. Any awards, report cards, etc. were placed in a pocket that I attached to a Creative Memories page. The problem with this is that I had a container, like the one you see below, for every year and the pocket pages were not easily accessible in that type of album because the protective sleeve slid over the page. Also, the album was too thick to manage. I could only fit preschool through 5th grade in this album.


So, for my next child, I decided to search for a new method and at that time Becky Higgins had come out with pages that you see here. Each year had elements of pages that you could put together. For this  method I used a 3 ring binder and really liked the ease and spacious room in the album. The envelopes were 12 x 12 and I could put report cards, awards, etc. in them.I really liked this method and wished I could buy the envelopes individually for my other child. But, they didn't come that way. I still had the problem of the artwork. (I had a hard time tossing any of it) 


Since my oldest needed a new album for middle school and there were quite a few extra elements left over from my younger daughter's album, I was able to use this method. The nice thing about this is that there is a lot of journal space, which is fun for the kids to write their thoughts. Even though Becky Higgins doesn't sell this product anymore you can still recreate easily with items you probably already have:)


So, back to the artwork. I was thinking after all these years there had to be a better way for me. I went back to Becky Higgins' blog and knew that she had started Project Life. I was pleasantly surprised to see that she had a video discussing school albums. In this video she discussed the artwork. Yay!! She also sold the 12 x 12 envelopes separately. These school envelopes are different from the ones I had previously purchased. There is no pre-written title on each individual envelope, and the closing mechanism is not a snap.

 For the number in the pocket I used Joys of the Season 3.14". For preschool and kindergarten I used Locker Talk at 2.76". The word "grade" I used A Child's Year at 1"  I am also contemplating the idea of adding velcro to the flap so it does not wear, as it already is beginning to do so.

As you can see, these envelopes have holes for a binder, however, I decided to put them in the plastic container with any other large mementos that wouldn't necessarily go in the album. Each child has one plastic container (preschool through high school).  I am still toying with albums for these, but I think I would need at least 2 for preschool through 8th grade. 


Once I watched the video I decided to purchase one box with the different sizes of sheet protectors (10 each). I still have plenty left over.  I purchased 15 of the envelopes (5 come in a pack) for my older daughter. 


Now comes the hard part: going through all of the boxes for each child and making decisions. Becky suggested scanning the items. I used my dining room floor and really spread out. I chose to take pictures of each of the items I wanted to keep and then I was able to print them to the desired size I wanted. Below are a few of the different styles with artwork in them.


I also used 8 1/2 x 11 protector sheets for items that I didn't want in the envelope and wanted to keep as an original.


I cut the protector down to size if I had smaller items that I wanted to put in the book.


This is my oldest daughter's book and I am able to fit preschool through 8th grade in this book. I took apart her CM album and cut the plastic off of the pages and just slid into this album. Luckily, no recreating of my CM pages:) It is an American Craft 3 ring binder. Hopefully, you can see, it is not too bulky.


I filled 3 bags of trash and gained many plastic containers for other uses. If you have made it to here, in this very long post, here are the steps that I followed per Becky:

Step 1: Assess what you have.
Step 2: Gather
Step 3: Sort per child
Step 4: Organize (piles per grade)
  • Using yearbooks really helps if you can't remember certain pictures or artwork.
  • Sign and date everything you or your child creates.
  • Scan or print items that you have a lot of and keep originals of things that are really special.
  • Subcategorize items. Ex: Art, Formal picture, handwriting samples, etc.
Step 5: File if Needed - Using file boxes will help you sort until you are ready to work on a particular grade. Items can be scanned or use your camera to then print items to store for that school year.

Step 6: Compile Albums

I hope I have helped you tackle this project and given you some useful ideas. I would love to hear any ideas you have on this subject too:)

Thanks for stopping by!


Annette