Showing posts with label Summer. Show all posts

Monday, June 30, 2014

Exploring Cricut and More - Vacation Challenge

Happy Monday and time for another challenge at Exploring Cricut and More! This week's challenge is to create a card, layout or project with a vacation theme. You will also need to use some kind of sign on your project.

I decided to create a layout at the beach using my Silhouette Cameo.  One of the features that I really like with this machine is that I can use any fonts that are on my computer. I used the Offset to create a shadow for my title. All the pattern papers were from Lori Whitlock's new stack Summer Bliss. The journal card and beach sign are also from this collection. The turquoise mat is Bo Bunny.


Thanks for stopping by and looking forward to seeing what you create!


Annette


Thursday, June 19, 2014

Exploring Cricut and More Thursday Project

Hello! Glad you stopped by. I'm sharing at Exploring Cricut and More today. Summer has begun and I am loving this warm weather after the winter we had. Everyone is settling in to their jobs, activities and it's wonderful:)

I created a note card with cool blues and soft greens. It made me think of meadows and hiking in the mountains, which we don't have in the middle of our country. But, none the less that's was my inspiration!


I curled the flowers up with a stylus and added Stickles to the tips of the petals.  The banner behind the flowers was cut by hand. The center was rolled with a stylus to get as tight as possible.

Recipe:
A2 card base
My Mind's Eye Papers
Flowers - 2.19, 1.88, 1.75
Scallop Border - Elegant Edges

Don't forget to enter our wedding challenge! You have until Saturday to get your project submitted:)

Thanks for stopping by!

Annette


Monday, May 19, 2014

Exploring Cricut and More - Summer Challenge

Hello Everyone! It's challenge time at Exploring Cricut and More. This time you are to create a card, layout or project with a summer theme using red and blue. 

I was inspired to create a card using this cute ant from Miss Kate Cuttables that was a freebie last week. Isn't he cute? 


I looked through my stash and found some old Creative Memories paper that was cut in a chevron style. I layered that to create the grass. The picnic blanket was created by using an image that came with my Cameo machine and I layered red underneath. 

For the basket, I wanted the woven part to look rough like a basket, so I raised the blade higher so that it wouldn't cut all the way through. I had to pull the rectangles out by hand. Not fun, but I got the look I wanted.

Recipe:
A2 card base
Scrap papers
Picnic Ant - Miss Kate Cuttables
Basket - Silhouette Online Store #44706
Picnic blanket - Woven Star (image that came with machine)
Sentiment - K Andrew Designs

Thanks for stopping by and enjoy your day!!

Annette


Thursday, August 15, 2013

Exploring Cricut - Beach Time!

Hello! Glad you all stopped by as today is my day to share at Exploring Cricut. We just got back from lounging on the beach and reality has definitely set in. My youngest starts school today and my oldest will be leaving for college this week. 

I decided to try to keep the vacation in the forefront today and work on a layout for my beach pics. I used Pack Your Bags and dressed the images up with glitter paper, Stickles and of course a Peachy Keen face.

I added the Stickles to the water and the flip flops. I used my Gypsy to hide the cuts for the sun and just cut a circle out. 


The flip flop image had sunglasses attached to the base. I hid this image so that my glasses and flip flops would be separate.

Recipe:
12 x 12 2 page layout
Papers - Echo Park, Bazzill, scraps
"80 and Sunny" - Pack Your Bags
Glasses - Pack Your Bags
Flip Flops - Back Your Bags
Water and Palm Tree with Sand - Pack Your Bags
Orange and Blue Stickles, Ribbon, Black Ink, Peachy Keen Face

Our challenge ends on Saturday, August 17th and we hope you decide to join in the party!

Thanks for stopping by!

Annette


Tuesday, August 14, 2012

Gardening Nut

Hi! So happy today because it is raining a really nice steady rain:) We haven't had decent rain in I don't remember when! I have a quick card to share from Bugaboo Stamps. I have someone very close to me who loves to be out in the yard. My husband calls her "the plant whisperer". I saw this little nut image and immediately thought of my buddy. I'm also entering into a couple challenges today.


Once I colored the nut, I used the blender to add some texture to it. 

Recipe:
A2 cardbase
Papers - Stampin' Up and My Yellow Bicycle
Image and Sentiment - Bugaboo Stamps
Copic Markers, Stickles, button, ribbon

Entering:
Catch The Bug Blog Sketch #117
Party Time Tuesdays Garden Delights


Thanks for stopping by!

Annette

Friday, August 3, 2012

Happy Hippo!

Hi Everyone! Lots of fun news today. First, I found out on Tuesday that I made DT for SKDigis. This is a new challenge blog for digital stamps and a place to purchase some darling images. Our first challenge will be September 3rd. Go check out her cool stuff:) 

Shout out to PK Stamps - I made Top 3 for my Corny Card! Thank you so much! Love my Peachy Stamps.

So, on to my card I created. I think this hippo is oh so fun from Birthday Bash. Doesn't the ice cream look real? Glossy Accents to the rescue. I added Stickles to the butterflies and the cherry.


School is starting in a couple weeks and I'm trying to savor these last days with my family. I hope you all are doing the same thing!

Recipe:
A2 card base
Papers - Echo Park, Bazzill
Sentiment - Echo Park Sticker
Hippo - Birthday Bash 3.50"
Glossy Accents, Stickles, Cuttlebug Argyle folder

Entering:
Cooking with Cricut  BFF Bingo Glitter, Embossing Die Cut
Tuesday Alchemy Ice Cream Social
Celebrate the Occasion I Scream for Ice Cream

Thanks for stopping by and have a great weekend!!

Annette


Tuesday, July 10, 2012

Chillin' With a Popsicle

Hi Everyone! I am super excited that I had some time to craft this morning and am entering this card into a few challenges. Hope your day is going well!


I used Doodlecharms to weld (with my Gypsy) the popsicle together to make a card. I added Glossy Accents, but forgot to add to the tongue for this picture. I love Glossy Accents and really think it just gives such a nice look. I also took chalk and went around the edges of the entire popsicle on the front and back of the card. I added the green card stock on the back of the card too so that it would be uniform to the front:)

Recipe:
Popsicle - Doodlecharms -6.33" for green cardstock and base measures 6.41"
Chillin' - Paisley 1"
Faces - Peachy Keen Happy Lashes
Chalk, Glossy Accents, Red marker, White Signo Gel Pen

Entering:
Fantabulous Cricut - Yummy, Yummy
Little Scrap Pieces - Sweet Summer


Stay cool and thanks for stopping by for a visit!

Annette


Monday, July 9, 2012

Ocean Scene

Hi! We finally got a break in the weather. Instead of the 100s it is now in the mid 90s and low 80s. It still feels muggy, but we'll will take it and continue to pray for rain. Hope you all are keeping cool today. I created this fun card with a fish theme. This water looks nice and cool. The pool water ...not so much. Too much like bath water. But, I digress on to the card.


The water background was created with Cuttlebug Divine Swirl. I ran it through the Cuttlebug and then added clear embossing powder. It gave it a nice shimmery look. 


I then added Stickles here and there giving it even more sparkle. The gellyfish and starfish I used Peachy Keen Stamps for their faces.

Recipe:
A2 cardbase
Water Scene - Pack Your Bags 4.09"
Faces - Peachy Keen Stamps Princess
Sentiment -K. Andrews
Cuttlebug Divine Swirls, Versamark Dazzle, Clear Embossing Powder, black ink, Black, Fruit Punch, Firefly, Diamond Stickles, Glossy Accents, chalk, Signo white gel pen

Entering:
Pile It On It's A Shore Thing
C.R.A.F.T.  Splashy Water Theme
Tuesday Throwdown Summertime
Totally Papercrafts Here Comes Summer
Catch The Bug Anything Goes

Thanks for stopping by and have a great day:)

Annette


Thursday, July 5, 2012

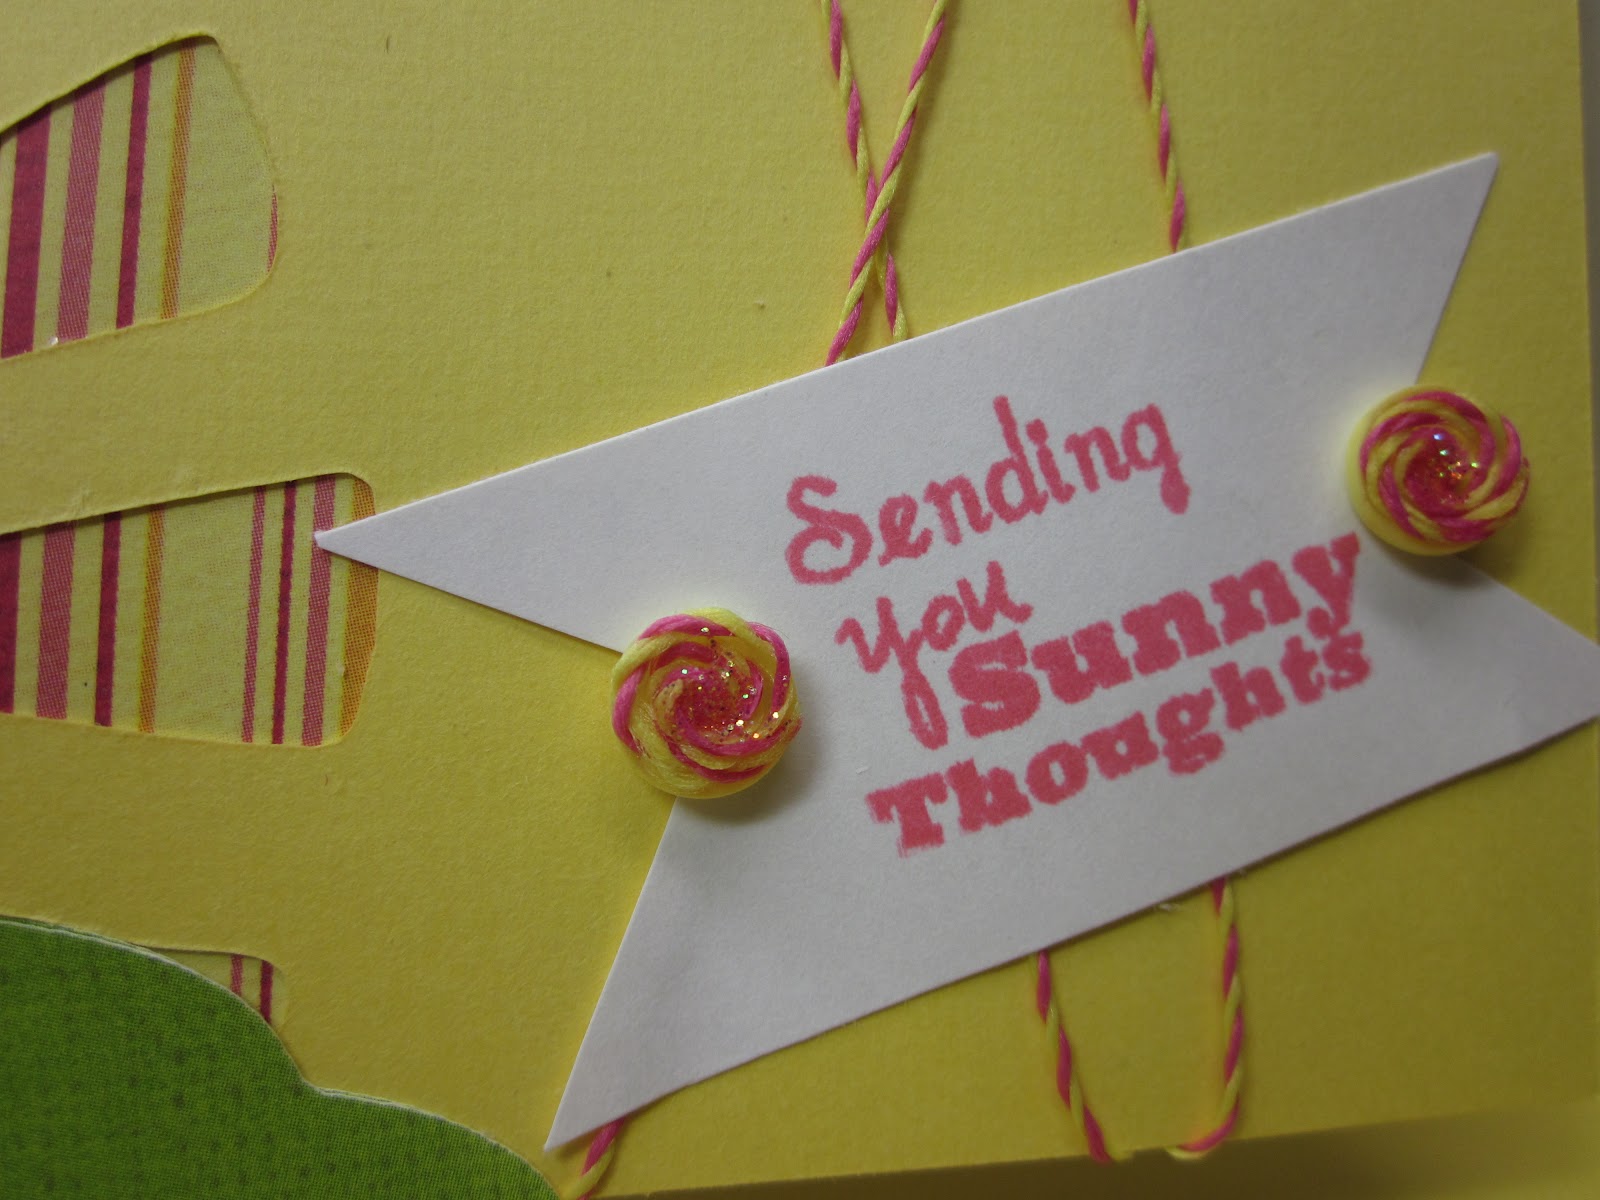
Exploring Cricut Project- "Sunny Thoughts"


Hi Guys! I'm excited to share today at Exploring Cricut a card that I made using a different technique for me. It is called iris paper piecing or paper folding. I really liked using the negative space from my Cricut cut to create something unique in the middle. For my sun I thought it would be fun to bring in different shades that you actually see when the sun is coming up or setting. 


There are quite a few you tube videos out there as well as directions and this is how I chose to make mine. I used the square pattern from this site to create my iris. I chose 4 patterned papers cutting them at 1 1/2" 
wide and 3 1/2" to 4" in length.

Each section is numbered and you will begin with #1 which is the outer area of the square and work your way in. A great tip I learned was to make a chart like this:

Color 1:  1,5,9,13,17,21,25,29
Color 2:  2,6,10,14,18,22,26,30
Color 3:  3,7,11,15,19,23,27,31
Color 4:  4,8,12,16,20,24,28,32

I named my colors based on what my pattern paper looked like. This helped me keep track so that I would know which paper came next as I was going around the square. 


The strips of paper are then folded in half. Make sure you keep the fold to the inside of the iris. It is best to use papers that are lightweight; as this is very heavy once assembled. My papers are from a DCWV 180 sheet stack.


This is the finished product. You should also remember that you are working on the back side of the image. It is helpful to tape the sheet of paper to a work surface  to eliminate shifting while working. As you lay the strips of paper down you can begin to attach them to each other with tape in the corners. I wouldn't tape your folded papers to the square because it will make it harder for you to remove the pattern when finished. 


I created the embellishment on the end of the sentiment by taking 2 buttons and gluing twine to each of them. I then added Stickles to the centers.

Recipe:
Sun negative - Paper Dolls for Everyday 4.88"
Hill - Paper Dolls for Everyday 1.21"
Sentiment - K. Andrews
Twine, Stickles, Worn Lipstick ink,


Thank you for stopping by and remember you have until Saturday to enter our challenge!

Annette

Tuesday, July 3, 2012

Shine On!

Wow! The sun is really shining bright where I live. I am entering this cutie in the Peachy Keen Challenge. Hope you all have a wonderful and safe 4th of July:) Be sure to check back on Thursday when I show you what I did with the negative of this sun cut!


Recipe:
A2 cardbase
Papers - Citrus DCWV
Sun-Paper Dolls for Everyday 4.88"
Face Stamp - Peachy Keen
Sentiment - K. Andrews
Beads, Glossy Accents, White Signo Gel Pen, Black ink, Ribbon, Chalk

Thanks for stopping by!

Annette

Monday, June 18, 2012

Exploring Cricut - Summer Fun Challenge

Well, summer is definitely here and to celebrate at Exploring Cricut the challenge this week is "Summer Fun". Make a card, layout or papercraft using at least 3 Cricut cuts, 2 pattern papers and 1 embellishment of summer fun activity, vacation, etc.

I chose to make a card from Pack Your Bags.  I have to say I would like to be this chick today at the pool or beach because it is hot and muggy here. Doesn't she look relaxed:) This was a fun card for me to make because I love summer . Near the water is even better. Just made me smile!


I decided to hide the sun face cuts with my Gypsy and used a Peachy Stamp instead. I popped up the sun and added Stickles to the sand and waves. I also want to mention that the stamp "wishing you" was curved on the block before stamping. I really like the flexibility of K.Andrew Stamps.

Recipe:
A2 card base
Papers - Scraps
Lady - Pack Your Bags 2.81"
Lounge Chair - Pack Your Bags 2.81"
Sun - Pack Your Bags 1.33"
Sand - Paper Dolls for Everday 4.57"
Waves -Paper Dolls for Everyday 1.13"
Sentiment - K.Andrew Designs
Sun's Face - Peachy Keen Stamps
Gold and Baby Blue Stickles, Vintage Photo Distres Ink, Glossy Accents, White Gel Pen

Thanks so much for stopping by! Make sure and check out the rest of my DT sisters and link a project of yours so we can see too!

Annette

Friday, May 4, 2012

How 'Bout A Cool Drink!

Did anyone else have a Shabby blog scare the last couple of days? Well, I haven't been able to be on my blog lately due to family stuff and was really surprised when I went on and saw the dreaded malware. I ended up having to change my blog design and got rid of the old template. It definitely was a good reminder to back up my blog. I think I like this design better anyway.

Today, I made a slider card. If you haven't ever made one there are a lot of videos on YouTube that are very helpful to watch. I believe I learned how watching Robyn from My Pink Stamper way back when. This design has been around forever, but it is fun to make it your own on the front. I put the Crystal Lite individual drink packets together (I taped 4 together). 

The papers are Basic Grey and Bazzill. The straw was hand cut and the drink is from Paper Dolls for Everyday. The cut looked more like a sports bottle and I just cut the top of it off so it turned it into a glass. I don't have the book in front of me, but it was on the page with the tennis racket, etc. 

Don't forget that we have a new challenge at Exploring Cricut starting on Monday:)

Thanks for stopping by!

 Annette