Showing posts with label Paper Dolls for Everyday. Show all posts

Thursday, November 7, 2013

Exploring Cricut-Monster Jam

Hello! It's my turn to share at Exploring Cricut and I created with quite a few Cricut cartridges this time. We went to the Monster Jam Truck show and took quite a few pics. I narrowed it down to these and the rest will go in a clear sleeve fitting 12 pics.


I really struggled with creating this layout because I don't have any boy cartridges. However, in trying to think outside of the box I think this layout came through without them. I improvised on the images and hope you like what you see. The journaling spot on the second page was actually going to be for tickets, which I can't find. I'm hoping they turn up, but if not I will continue the rest of the journaling on what is already attached.


The dots were created by using Liquid Pearls to add a "rivet" look. I just realized that Ribbons and Rosettes would have been good to use too because the font on there already has the holes if you don't want to use the Liquid Pearls.

Recipe:
12 x 12 2 page layout
Papers - DCWV  and scraps
Title - Birthday Bash 1.23, shadow 1.31"
Green, Purple Grave Digger Car - Paper Dolls for Everyday 3.25"
Skeleton Face - Indie Art 1"
Superman Truck - Paper Dolls for Everyday 3.45"
Red Cape on Truck - Paper Doll Dress Up 5.15"
Shield - Create A Critter 1.46"
"S" - Birthday Bash 1"
Wheels on Truck - From My Kitchen 8.69", 12.07"
Flag - Paper Dolls for Everyday 7.62"
Sand - Paper Dolls for Everyday 7"
Film Strip - Disney-Mickey and Friends 4.65"
Liquid Pearls Platinum, Yellow, Cinnamon, Firefly, Purple  and Silver Stickles, black ink

Thanks for stopping by and remember there is still time to enter our challenge!

Annette


Thursday, June 20, 2013

Exploring Cricut - On The Grill!

Hello! Today it is my turn to share with you at Exploring Cricut. I have another Father's Day card to share with you today. This is a CAS for sure and so fast to create.


The apron did not have a pocket, but with my Gypsy this was super easy to create. I cut another apron only using the bottom of it. To save paper, I turned the apron on the screen to only cut the bottom part that I needed. The Gypsy has the ability to turn the image so that you can cut just what  you need.

I added stitching with a micro black pen and edged the bottom with black ink. 

Recipe:
5x7 cardbase
Apron - Paper Dolls for Everday
Spatula - From My Kitchen
Oven Mitt - From My Kitchen
Sentiment - My Pink Stamper
Brads, ribbon, black ink

Don't forget to enter our challenge this week. You have until Saturday:)

Thanks for stopping by!

Annette

Tuesday, November 13, 2012

No Longer A Tween

Hi! Today, my youngest has a birthday and she is no longer a tween. It is also her "golden" birthday and she thinks that is so cool. She is officially a teenager and while that is exciting to think about, it makes me feel sad too that she is growing so fast. My inspiration comes from her love of the color teal and turtles.


I used PK Corny faces for this cutie and even pulled out some old stamps from Stampin' Up for the confetti and the sentiment. 


For one of her presents I created this fun cupcake tag. I was in the Hallmark store with my Mom the other day and they have all of these toppers actually attached to the bag and they are really cute. Of course, I thought well I'm sure I could make that:)

Recipe:
A2 white cardbase
Banner - Birthday Bash 1"
Turtle - Birthday Bash 1.94"
Face - Peachy Keen Corny Faces
Grass - Paper Dolls for Everyday 3.27"
Sentiment - Stampin' Up
Confetti - Stampin' Up
Cupake Tag - Birthday Bash 4.23"
Black ink, Stickles, Copic Markers, Twine, White gel pen

Entering: 
Celebrate the Occasion Use a Cupcake
Craft Your Passion Clean and Simple

Thanks for stopping by and hope you all have a wonderful day!

Annette

Monday, September 24, 2012

Exploring Cricut Challenge - "Trains, Planes and Automobiles"


Good Morning! So glad you came by because it is time for another challenge at Exploring Cricut. I think this is a really fun one and hope you join in. Create a card, layout, or paper craft with a cricut cutout of some means of transportation.


I decided to create a thank you card using this cute little beetle bug from Paper Dolls for Everyday. I used vellum to cover the windows. The sentiment is attached with wire to look like an antenna at the back of the card. 


Recipe:
A2 card base
Car - Paper Dolls for Everyday 3.24"
Road - Paper Dolls for Everyday 2.18"
Sentiment - K. Andrews Designs, TradeFish Designs
Liquid Pearls, black ink, brads, wire

Thanks for stopping by and looking forward to seeing your projects!

Annette

Thursday, July 5, 2012

Exploring Cricut Project- "Sunny Thoughts"


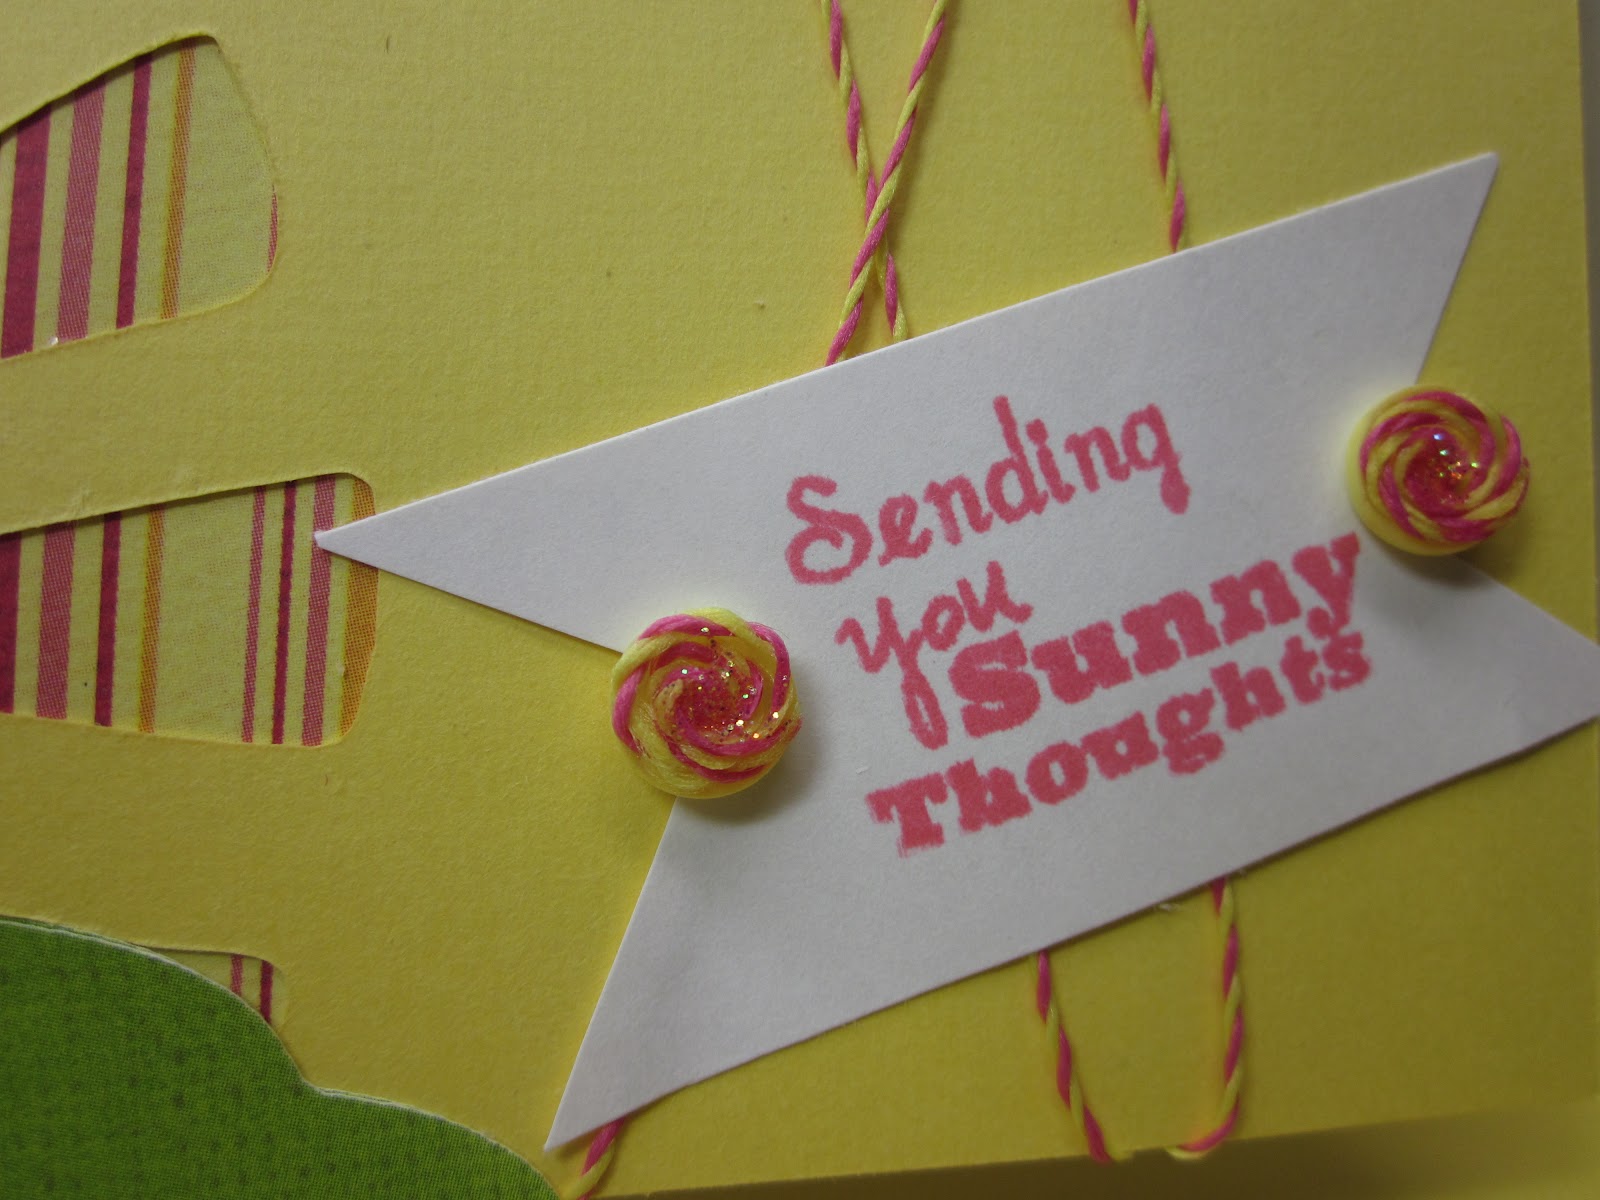
Hi Guys! I'm excited to share today at Exploring Cricut a card that I made using a different technique for me. It is called iris paper piecing or paper folding. I really liked using the negative space from my Cricut cut to create something unique in the middle. For my sun I thought it would be fun to bring in different shades that you actually see when the sun is coming up or setting. 


There are quite a few you tube videos out there as well as directions and this is how I chose to make mine. I used the square pattern from this site to create my iris. I chose 4 patterned papers cutting them at 1 1/2" 
wide and 3 1/2" to 4" in length.

Each section is numbered and you will begin with #1 which is the outer area of the square and work your way in. A great tip I learned was to make a chart like this:

Color 1:  1,5,9,13,17,21,25,29
Color 2:  2,6,10,14,18,22,26,30
Color 3:  3,7,11,15,19,23,27,31
Color 4:  4,8,12,16,20,24,28,32

I named my colors based on what my pattern paper looked like. This helped me keep track so that I would know which paper came next as I was going around the square. 


The strips of paper are then folded in half. Make sure you keep the fold to the inside of the iris. It is best to use papers that are lightweight; as this is very heavy once assembled. My papers are from a DCWV 180 sheet stack.


This is the finished product. You should also remember that you are working on the back side of the image. It is helpful to tape the sheet of paper to a work surface  to eliminate shifting while working. As you lay the strips of paper down you can begin to attach them to each other with tape in the corners. I wouldn't tape your folded papers to the square because it will make it harder for you to remove the pattern when finished. 


I created the embellishment on the end of the sentiment by taking 2 buttons and gluing twine to each of them. I then added Stickles to the centers.

Recipe:
Sun negative - Paper Dolls for Everyday 4.88"
Hill - Paper Dolls for Everyday 1.21"
Sentiment - K. Andrews
Twine, Stickles, Worn Lipstick ink,


Thank you for stopping by and remember you have until Saturday to enter our challenge!

Annette

Tuesday, July 3, 2012

Shine On!

Wow! The sun is really shining bright where I live. I am entering this cutie in the Peachy Keen Challenge. Hope you all have a wonderful and safe 4th of July:) Be sure to check back on Thursday when I show you what I did with the negative of this sun cut!


Recipe:
A2 cardbase
Papers - Citrus DCWV
Sun-Paper Dolls for Everyday 4.88"
Face Stamp - Peachy Keen
Sentiment - K. Andrews
Beads, Glossy Accents, White Signo Gel Pen, Black ink, Ribbon, Chalk

Thanks for stopping by!

Annette

Monday, June 18, 2012

Exploring Cricut - Summer Fun Challenge

Well, summer is definitely here and to celebrate at Exploring Cricut the challenge this week is "Summer Fun". Make a card, layout or papercraft using at least 3 Cricut cuts, 2 pattern papers and 1 embellishment of summer fun activity, vacation, etc.

I chose to make a card from Pack Your Bags.  I have to say I would like to be this chick today at the pool or beach because it is hot and muggy here. Doesn't she look relaxed:) This was a fun card for me to make because I love summer . Near the water is even better. Just made me smile!


I decided to hide the sun face cuts with my Gypsy and used a Peachy Stamp instead. I popped up the sun and added Stickles to the sand and waves. I also want to mention that the stamp "wishing you" was curved on the block before stamping. I really like the flexibility of K.Andrew Stamps.

Recipe:
A2 card base
Papers - Scraps
Lady - Pack Your Bags 2.81"
Lounge Chair - Pack Your Bags 2.81"
Sun - Pack Your Bags 1.33"
Sand - Paper Dolls for Everday 4.57"
Waves -Paper Dolls for Everyday 1.13"
Sentiment - K.Andrew Designs
Sun's Face - Peachy Keen Stamps
Gold and Baby Blue Stickles, Vintage Photo Distres Ink, Glossy Accents, White Gel Pen

Thanks so much for stopping by! Make sure and check out the rest of my DT sisters and link a project of yours so we can see too!

Annette

Friday, May 25, 2012

Another 2012 Graduation Card

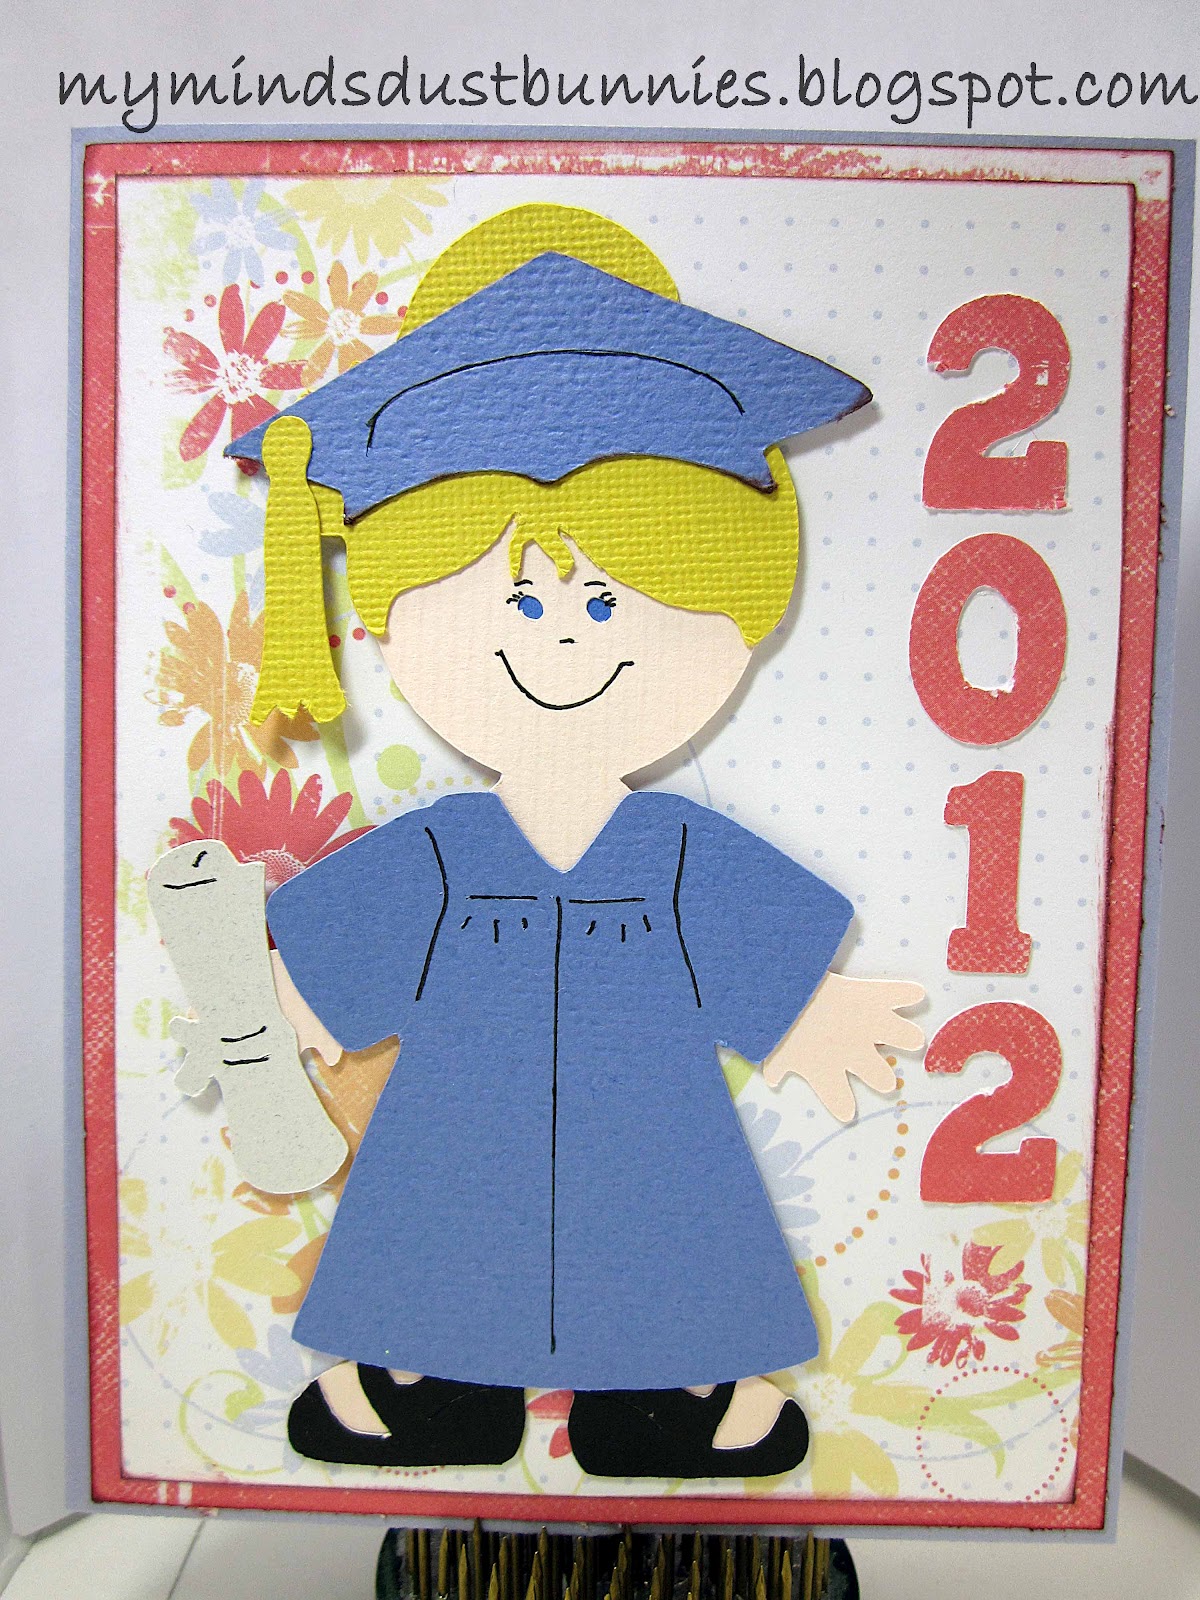
Hi Guys! I have one more graduation card to share. We have our last graduation to go to tomorrow night and I am told it is going to be very warm on Saturday. I'm hoping it will be cooler by the time we go as it is outside. This particular card was for last week's graduation party and I modeled it after the recipient, my niece. Paper Dolls are so fun to try and match to the person that you are giving the project to. I know that I haven't used all the different accessories on this cartridge. I am always finding new items for many projects. I normally use my Peachy Keen stamps for the face. That is what I get for being in a hurry as I forgot to hide the cut out. I actually think her face is really sweet even though I prefer the PK Stamps:)


I added a piece of blue paper behind the eyes. I also added eyelashes and brows. Using a black micro pen I outlined her clothing, cap and diploma.

Recipe:
A2 card base
Scrap papers
Graduate - Everyday Paper Dolls 4.16" 
2012 - Birthday Bash 4" Black micro pen

Entering:
Fantabulous Cricut - Graduation Project
Celebrate the Occasion  - Graduation
Cricut Creative Cutter Room - Graduation
My Craft Spot - Congratulations


Thanks for stopping by and have a great Memorial weekend!

 Annette

Monday, May 21, 2012

Exploring Cricut Challenge - "Cricut Choice"

Good Morning! Thanks for stopping by today. We have a new challenge at Exploring Cricut and let me tell you it is a fun one. This challenge is your choice. Now remember, you have to use your Cricut. The cartridge is up to you. Grab a cartridge that you have not used or used very little and create a card, layout, or papercraft. There are lots of possibilities out there. Have fun with this one and really be creative!

For my projects, I decided to create a graduation card with matching envelope. I really like the Wild Card Cartridge but haven't really done much of the shape cards with the envelope. I will say that the Gypsy really helped me get the sizing down for this project. The graduation cap was added using Paper Dolls for Everyday.

I used the blackout feature for the owl in white so that I could attach the black dot for the eye and then I glued the red paper to the white. I also added a strip of black to the nose before gluing, the red and white cutout of owl, so that the nose wouldn't be white. This worked great so that none of that would show on the inside of the card. 


The liner is a separate piece that is a nice polished touch to your envelope. When cutting your pieces out for the envelope you will make them the same size as your envelope. I did leave the markers so that I could line up the tree trunk and the grass. I did, however, hide the markers on the envelope because I don't like how they sometimes tear the paper. 


Recipe:
Owl Card - Wild Card 4.72"
Graduation Cap - Paper Dolls for Everyday 6.05" (width)
Sentiment - Wild Card 3.88" (width)
Envelope -Wild Card 5.70"
Liner - Wild Card 5.70"
Black, Diamond Stickles, black ink

Remember, use any Cricut cartridge for your project that you haven't used much of. It is amazing the items on our carts that we aren't even aware of. You have until Saturday, May 26th to enter. I can't wait to see what you guys create:)

Thanks for stopping by!

 Annette

Friday, May 4, 2012

How 'Bout A Cool Drink!

Did anyone else have a Shabby blog scare the last couple of days? Well, I haven't been able to be on my blog lately due to family stuff and was really surprised when I went on and saw the dreaded malware. I ended up having to change my blog design and got rid of the old template. It definitely was a good reminder to back up my blog. I think I like this design better anyway.

Today, I made a slider card. If you haven't ever made one there are a lot of videos on YouTube that are very helpful to watch. I believe I learned how watching Robyn from My Pink Stamper way back when. This design has been around forever, but it is fun to make it your own on the front. I put the Crystal Lite individual drink packets together (I taped 4 together). 

The papers are Basic Grey and Bazzill. The straw was hand cut and the drink is from Paper Dolls for Everyday. The cut looked more like a sports bottle and I just cut the top of it off so it turned it into a glass. I don't have the book in front of me, but it was on the page with the tennis racket, etc. 

Don't forget that we have a new challenge at Exploring Cricut starting on Monday:)

Thanks for stopping by!

 Annette


Thursday, April 26, 2012

Exploring Cricut Daily Challenge - School Days

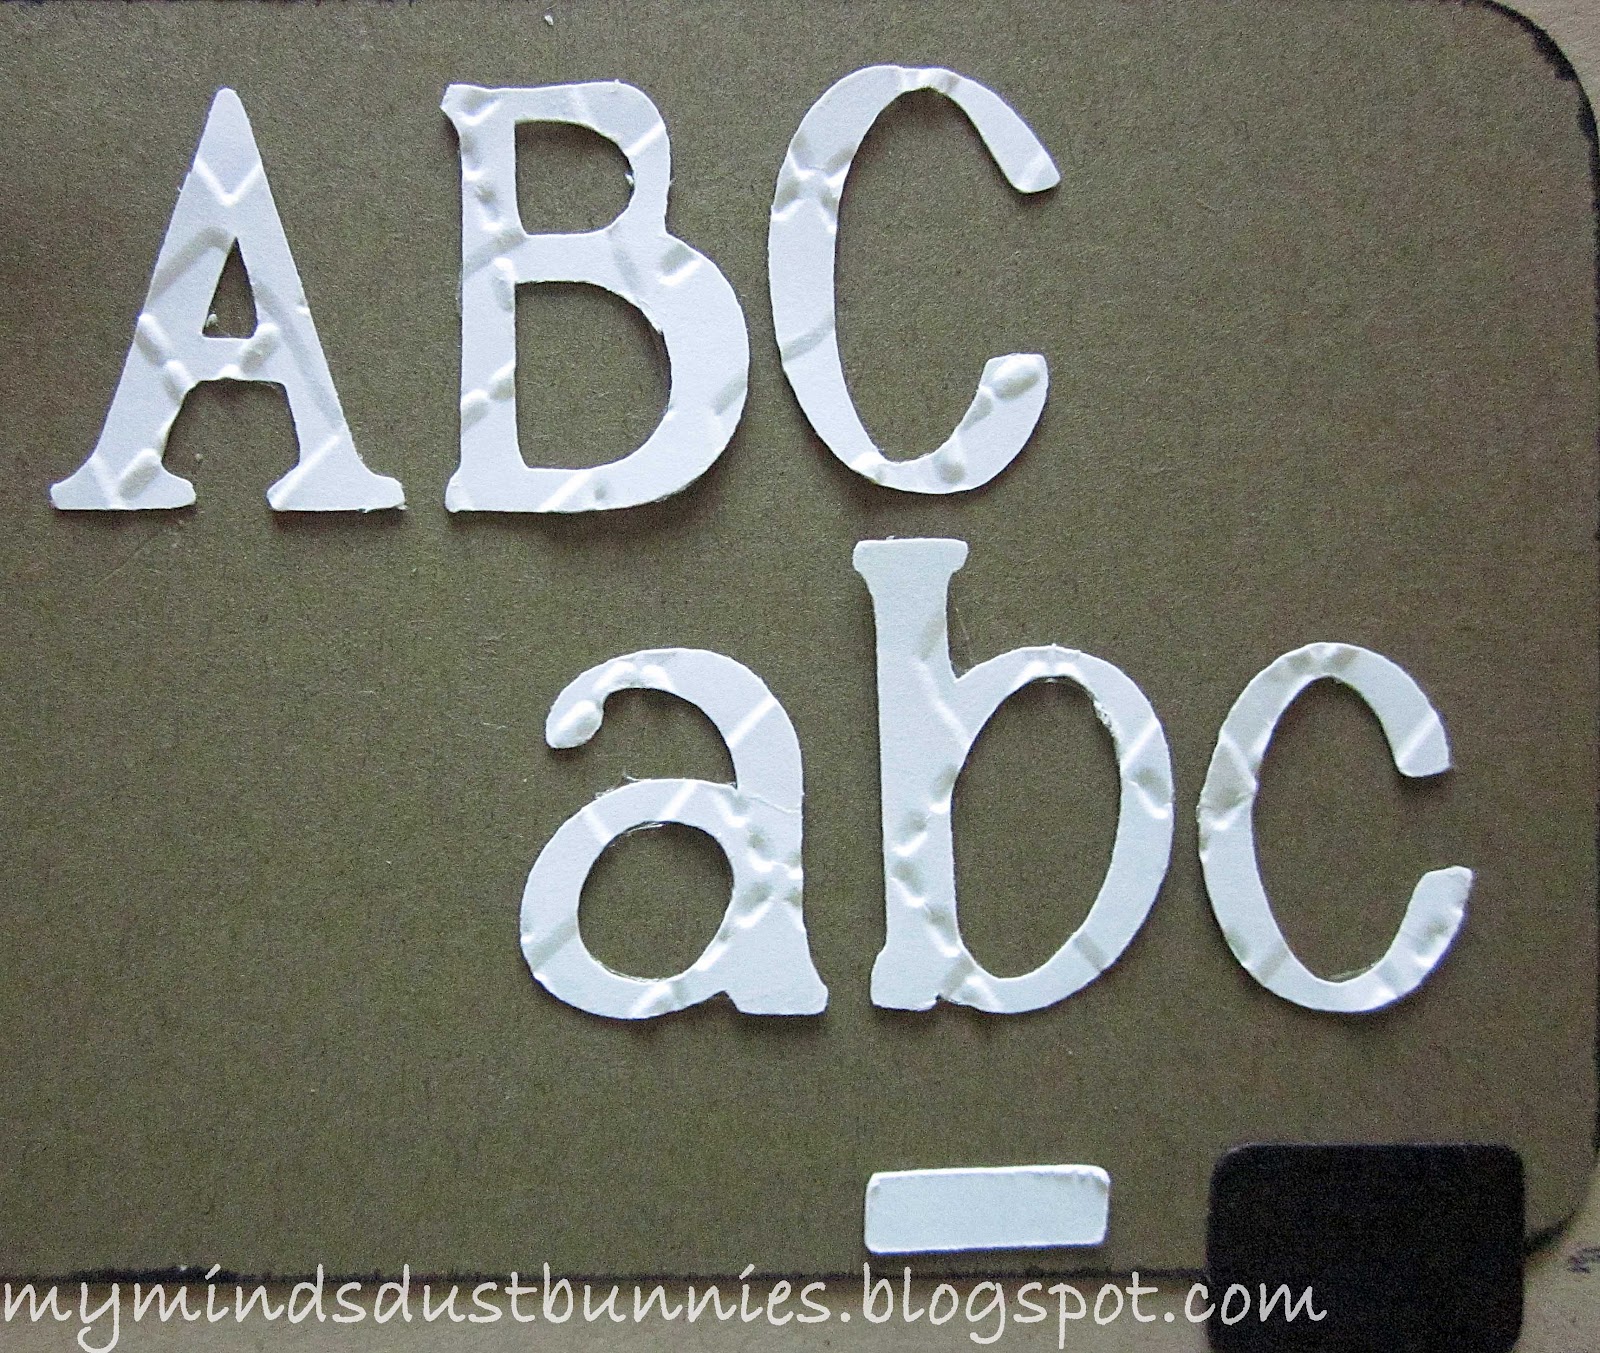
Hello! I'm glad you came by because today is my day to share at Exploring Cricut. I decided to  make a title page for a school album. This was a lot of fun because I used quite a few cartridges. This is for an album spanning preschool through 8th grade so I tried to have young items as well as older like the lock for middle school.

I wanted a schoolhouse with a bell, but none of my carts had that. No worries, gypsy to the rescue. I found a house in Lyrical Letters and cut the chimney off. Paper Dolls for Everyday is where I found a shape that would be good for a school bell. I welded the two together. Now, comes the funny. The bell is actually an elbow pad. Yes, an elbow pad. It is from page 57 under Accessories 2. I reshaped it by widening and now it is a bell.

The science beakers were only attached to the colored papers so that the vellum would not discolor. I also used vellum behind the holes of the recorder. You can click on the picture to enlarge.


I used Argyle and Swiss Dots to make the lettering a little more interesting to look at, and hopefully stand out a little more.


The lock was fun to make. Originally I was going to make the lock with the silver paper, but decided that maybe having only the button with that paper would give more depth. I chose the teal because my daughter had a lock this color:)


Recipe:
Chalkboard - George and Basic Shapes 4.74" and 4.07"
Chalk and Eraser - George and Basic Shapes 0.54" and 0.69" 
Scissors - Simply Charmed 4.18"
Crayons - Simply Charmed 4.29"
School - Lyrical Letters 11.71" 
Bell - Paper Dolls for Everday 9.72"
Globe - Locker Talk 3.71"
Lock - Locker Talk 4.80"
Recorder - Locker Talk 2.53"
School Days - 3 Birds On Parade 1.31"
ABC abc - A Child's Year 1.12"
Science Beaker - Locker Talk 3.35"
Argyle and Swiss Dots Cuttlebug folders

If you are looking for a way to control school albums check out my post from yesterday where I showed how I cleaned up my kids books.

Don't forget we have a challenge right now at Exploring Cricut to create a box using your Cricut. I hope to see some of your wonderful creations too:)


Thanks for stopping by!


Annette

Sunday, February 26, 2012

Wonderful Wilderness Blog Hop Day 2


Welcome to Created By Cori's Wonderful Wilderness Blog Hop Day 2! 

In this hop, you will see projects featuring Cricut cartridges using all things found in the Wonderful Wilderness!   We hope you enjoy our blog hop today! If you came from Carrie then you are in the right place! If you have just hopped onto the tour, please start at Cori so you don't miss any of the great projects we have for you today:)

Today my project is a 2 page 12 x 12 layout. I chose to create a whimsical scene of what you might see in the forest.


Recipe:
Scallop Border- Ribbons & Rosettes 1"
Squirrel - Cindy Loo 2.41"
Bird - Cindy Loo 2.34"
Mushrooms - Cindy Loo 2.40", 1.95"
Tree - Cindy Loo 7.05"
Deer - Cindy Loo 3.54"
Clouds - Paper Dolls for Everyday 1.92", 2.08", 2.54", 3"
DCWV Paper, Bazzill papers
Cuttlebug Argyle Embossing Folder
Brown ink, Diamond Stickles, Glossy Accents, ribbon

For this blog hop, I have a fun giveaway for you. Included in this giveaway are stickers, journal tags, rub ons and a 4 x 6 photo album. Good luck!

To win follow these steps:
1. Follower of My Mind's Dust Bunnies
2. Leave a comment on this post to be entered in the drawing. 

I will draw and post a winner on Wednesday, February 29th
While you were wandering through the woods, a Giveaway came out of hibernation! For this weekend's blog hop, Created By Cori is giving away a Chore Chart Cricut cartridge.


To enter to win this cartridge, make sure you head to Created By Cori and become a follower, then leave a message at the Wonderful Wilderness Blog Hop post!

Your next stop on the Wonderful Wilderness hop is Melody. 


If you get lost in the woods during this hop, here is the blog hop list to help you find your way!

1. Cori- http://createdbycori.blogspot.com

2. Carri- http://doubleclickconnections.blogspot.com/
3. Annette - http://mymindsdustbunnies.blogspot.com/ you are here
4. Melody- http://melodylanedesigns.blogspot.com/ go here next
5. Lisa - http://indymermaid.blogspot.com
6. Patty- http://creativediva98.blogspot.com
7. Amanda-http://amandascraftsandmore.blogspot.com/
8. Barb-http://bugbites411.blogspot.com
9. Sukie - http://scrappindhilly.blogspot.com/
10. Lisa- http://lisashandmadecards.com/
11. Lisa P - http://handmadewithlove-lisa.blogspot.com/
12.Lynne - http://slasewcraftiness.blogspot.com/
13. Sylvia- www.bellascrapbookdesigns.blogspot.com/
14. Veronica- http://mommyscraftycreations.blogspot.com/
15. Missy - http://www.tangledwebsoftangwen.blogspot.com/

Thank you for hopping along, we hope you have found lots of inspiration from our Wonderful Wilderness 
blog hop!


Annette

Thursday, January 19, 2012

Exploring Cricut Daily Project - Lover's Lane

Good Morning Everyone! I'm so glad you stopped by as it is my turn to share with you a project for Exploring Cricut. I have a Valentine's layout for you and it was so much fun to do. I used quite a few carts to accomplish this one and a lot of stickles:) The name was chosen because my husband's hometown has a street called Lover's Lane and I have always thought it was a very pretty road to travel; perfect for a Valentine page.


Once I have decided on a theme I like to use my gypsy to map out the cuts so I can see how big everything needs to be. From that point, I will either make a tab for each item to cut or group by color. For this particular layout I chose to have a tab for each cut instead of color. I wanted to make sure that the cuts stayed together since there were so many pieces per item.

As you can see, I changed my final layout once I cut them out because I didn't like that the road was hidden. The border was welded together to fit the length of the 12 x 12 pages.


I really like the letters from Storybook. I haven't used this cut very often and it was helpful for me to have the booklet out so that I could make sure and get the right accent frame to go with each letter.


I used the white Signo pen on the wheels and then I added Glossy Accents to it as well as to her shoes, lights and Stickles on basket.


Glossy Accents was added to the cat's heart, the cat and dogs' black eyes and the dog's collar.


Recipe:
12 x 12 2 page layout
Papers - Crate Paper Farmhouse, Bo Bunny Crazy Love, DCWV, stash
Border - Elegant Edges 1.02"
Title - Storybook 1.31"
Apostrophe - Indie Art (actually a rain drop) .79"
Girl w/scooter - Sweethearts 3.45"
House - Everyday Pop Up Cards 3.15"
Heart chimney - Sweethearts 2.85"
Volkswagen car - Sweethearts 1.62"
Road - Paper Dolls for Everyday 2.69", Argyle Cuttlebug folder
Tree- Sweethearts 4.99"
Dog - Sweethearts 2.19"
Grass - Paper Dolls for Everyday 1"
Cat - Sweethearts 1.92"
Peachy Keen Critter faces
Stickles - Fruit Punch, Xmas Red, Stardust, Firefly, Cinnamon, Golden Rod
Liquid Pearls - White Opal and Pewter
Ribbon - Joann Fabric's
Prima flower, brown ink, pop dots, Glossy Accents, white signo pen, black micro pen


Thank you for stopping by! Don't forget to enter the challenge over at Exploring Cricut. We'd love to see what you create:)
Annette


Monday, November 28, 2011

Hello Earthling!

Good Morning! Did you all have a nice Thanksgiving? It always goes by so fast. Today, I'm still working on some birthday cards and this time I chose Everyday Pop Up Cartridge as my base card. I just got this over the weekend and haven't had to much time to check it out. Yes, I'm sure you are looking at this thinking how could this be for a birthday:) Well, my older brother likes space stuff and I thought this was just silly. The inside sentiment says happy birthday. I also used Paper Dolls for Everyday and PK Stamps for the face. I used the hide feature on my gypsy and eliminated the cuts on the face so that I could stamp myself. Have any of you stamped on glitter paper before? Well, I hadn't and wanted to give it a try. This glitter paper is from DCWV and the black ink is Staz On. It worked beautifully:)

Recipe:
A2 base Everyday Pop-Up Cards 5.38" height
Papers - Bazzill, DCWV, Deja View
Alien - Paper Dolls for Everyday 3.82" height
Sentiment - All Mixed Up .99" welded together
Silver Star - Paper Dolls for Everyday 2.32"
Face - PK Monster Stamps

Thanks for stopping by!

Annette