Hi! I wanted to share another idea for treat bags. These are made with the Paisley cartridge. The "sweet" would be for girls and the "cool" would be for boys if you are giving for class Valentine treats. Hope you all have a great weekend! We are getting some much needed rain today and it is awesome:)
The "cool" and the "sweet" were first done with the Cricut marker and then cut out.
Recipe:
3 x 3 card base
Elephant - Paisley
Sentiment - Paisley
Cellophane bags - Michael's
Stickles, Cricut markers, ribbon
Entering:
Die Cuttin' Divas Anything Goes
DL. Art Anything Goes
Thanks for stopping by!
Annette
Friday, February 3, 2012
Thursday, February 2, 2012
Exploring Cricut Daily Project - Heart Wreath
Good Morning! It's my turn to share a project at Exploring Cricut. I am all about simple these days and I needed a Valentine wreath for my front door. I can't take credit for the idea as I have seen it all over blog land. I will say that I think I got mine done quicker with my trusty friend Cricut:)
I started by mapping on my Gypsy 3" circles with the 12 x 24 mat. I was able to get 21 circles cut at a time. I used the deep cut blade set at 6, Speed 2, Pressure 5. I also used multi-cut which was set to cut the image 2 times.
I chose not to use Heat 'N Bond on my project because my circles weren't going to be adhered flat to another object. Normally this product is a must so that it gives the felt stability while cutting. I cut a 12 x 24 piece of felt and laid it on the mat adhering it with blue painter's tape all the way around. It worked beautifully.
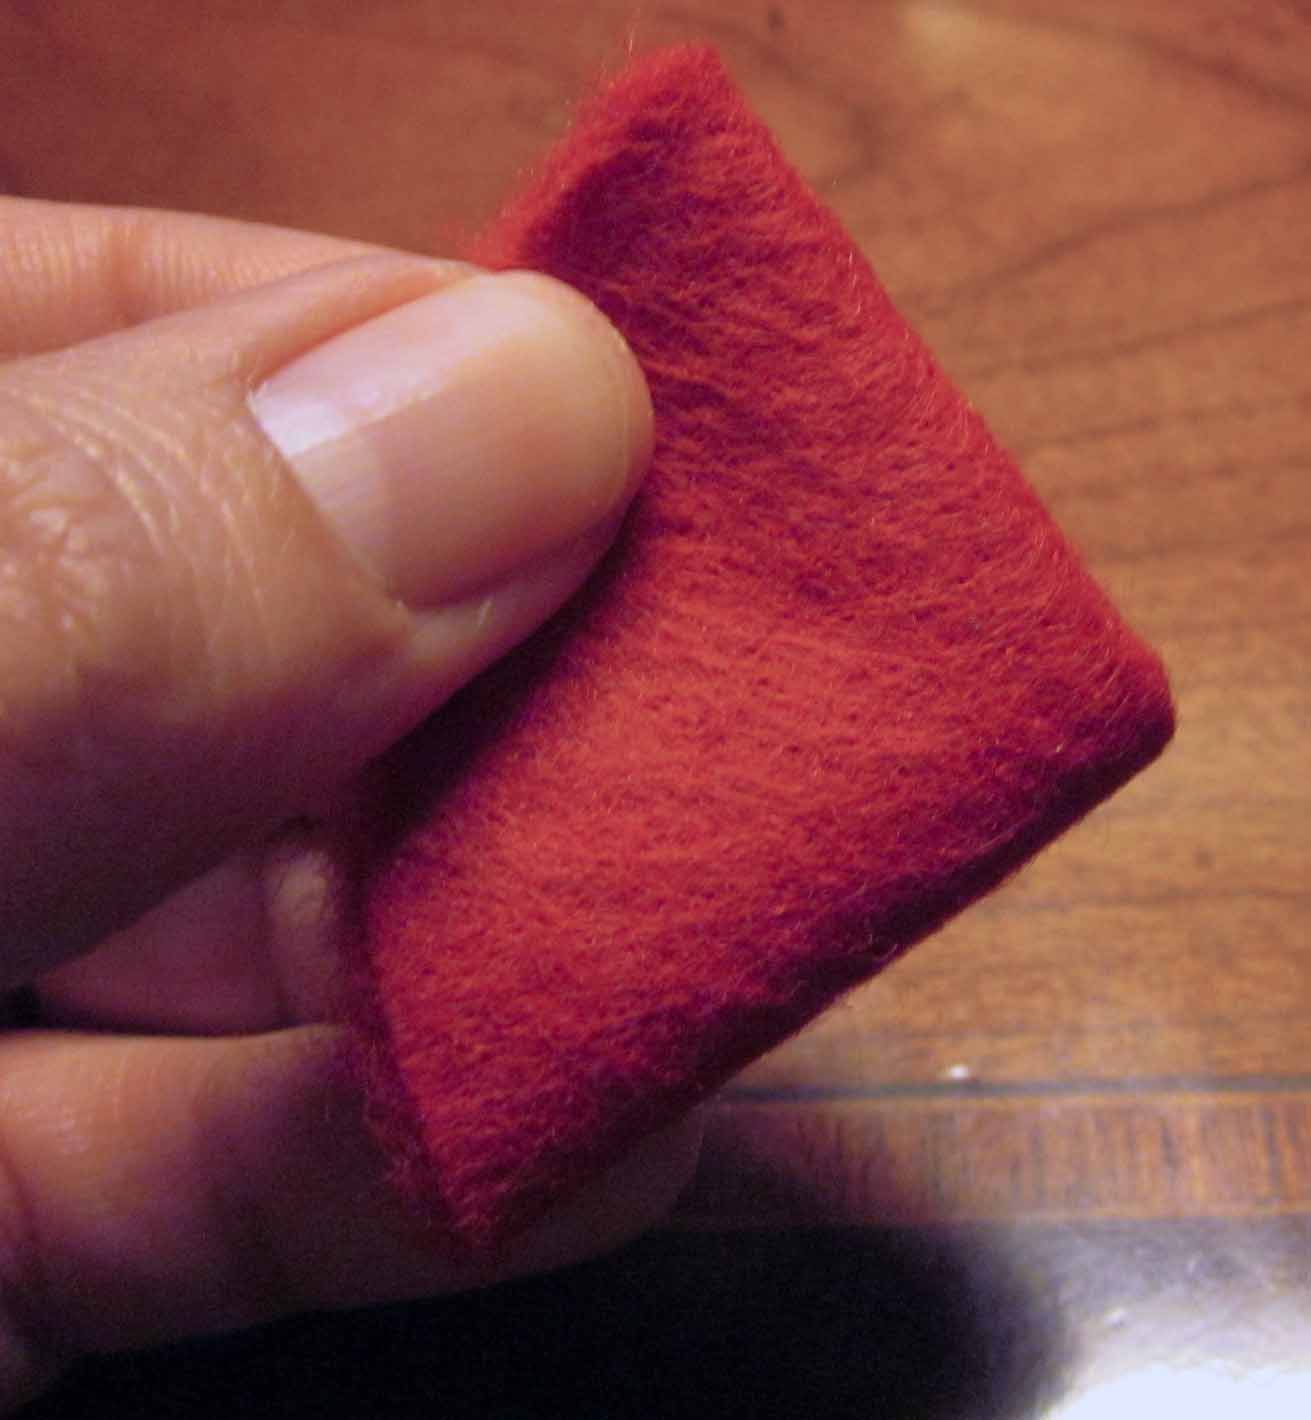
Once the circles were cut I then began to assemble my wreath. The circles were folded in half and then folded again.
A pin was placed in the corner of the felt and then pushed into the styrofoam wreath. You won't need to do the back of the wreath. Once I pinned the circle I opened it so that it looked fuller as I was going.
Recipe:
Styrofoam Heart - Joann Fabric
Felt - 3/4" yard off the bolt
Circles - George 3"
Seamstress pins, painter's tape
Ribbon of your choice 8" for back of wreath
Thanks for stopping by! Don't forget there is still time to enter the challenge at Exploring Cricut. You have until February 4th and I can't wait to see what you make:)
Annette
I started by mapping on my Gypsy 3" circles with the 12 x 24 mat. I was able to get 21 circles cut at a time. I used the deep cut blade set at 6, Speed 2, Pressure 5. I also used multi-cut which was set to cut the image 2 times.
I chose not to use Heat 'N Bond on my project because my circles weren't going to be adhered flat to another object. Normally this product is a must so that it gives the felt stability while cutting. I cut a 12 x 24 piece of felt and laid it on the mat adhering it with blue painter's tape all the way around. It worked beautifully.
Once the circles were cut I then began to assemble my wreath. The circles were folded in half and then folded again.
A pin was placed in the corner of the felt and then pushed into the styrofoam wreath. You won't need to do the back of the wreath. Once I pinned the circle I opened it so that it looked fuller as I was going.
Recipe:
Styrofoam Heart - Joann Fabric
Felt - 3/4" yard off the bolt
Circles - George 3"
Seamstress pins, painter's tape
Ribbon of your choice 8" for back of wreath
Thanks for stopping by! Don't forget there is still time to enter the challenge at Exploring Cricut. You have until February 4th and I can't wait to see what you make:)
Annette
Wednesday, February 1, 2012
Valentine Treats
Good Morning! Are you all getting into the Valentine spirit? Today I have a cute little treat bag that came together in a snap. One of my favorite cartridges is Storybook. There are so many hidden gems on this cartridge and I always find just the right thing to use for it.
I am sad this year as I have no kiddos who need treat bags anymore. However, adults like a little treat too: so I'm thinking to whip up some for by Bible Babes:)
Recipe:
Top Note - Storybook 2.70"
Puppy - Sweethearts 1.37"
Papers - Bazzill
Bag - Michael's
Sentiment - My Pink Stamper
Googley eyes, black ink
Entering:
More Than Favors Wacky Wednesday Love theme
Cooking With Cricut Child's Valentine using pink, white and red
Decorate To Celebrate Valentine
Thanks for stopping by!
Annette
Labels:
Crafts,
Storybook,
Sweethearts,
Valentine
Subscribe to:
Posts (Atom)